3D Printed Wall Mount Bracket for Google Nest Cam IQ Outdoor Camera

$19.99
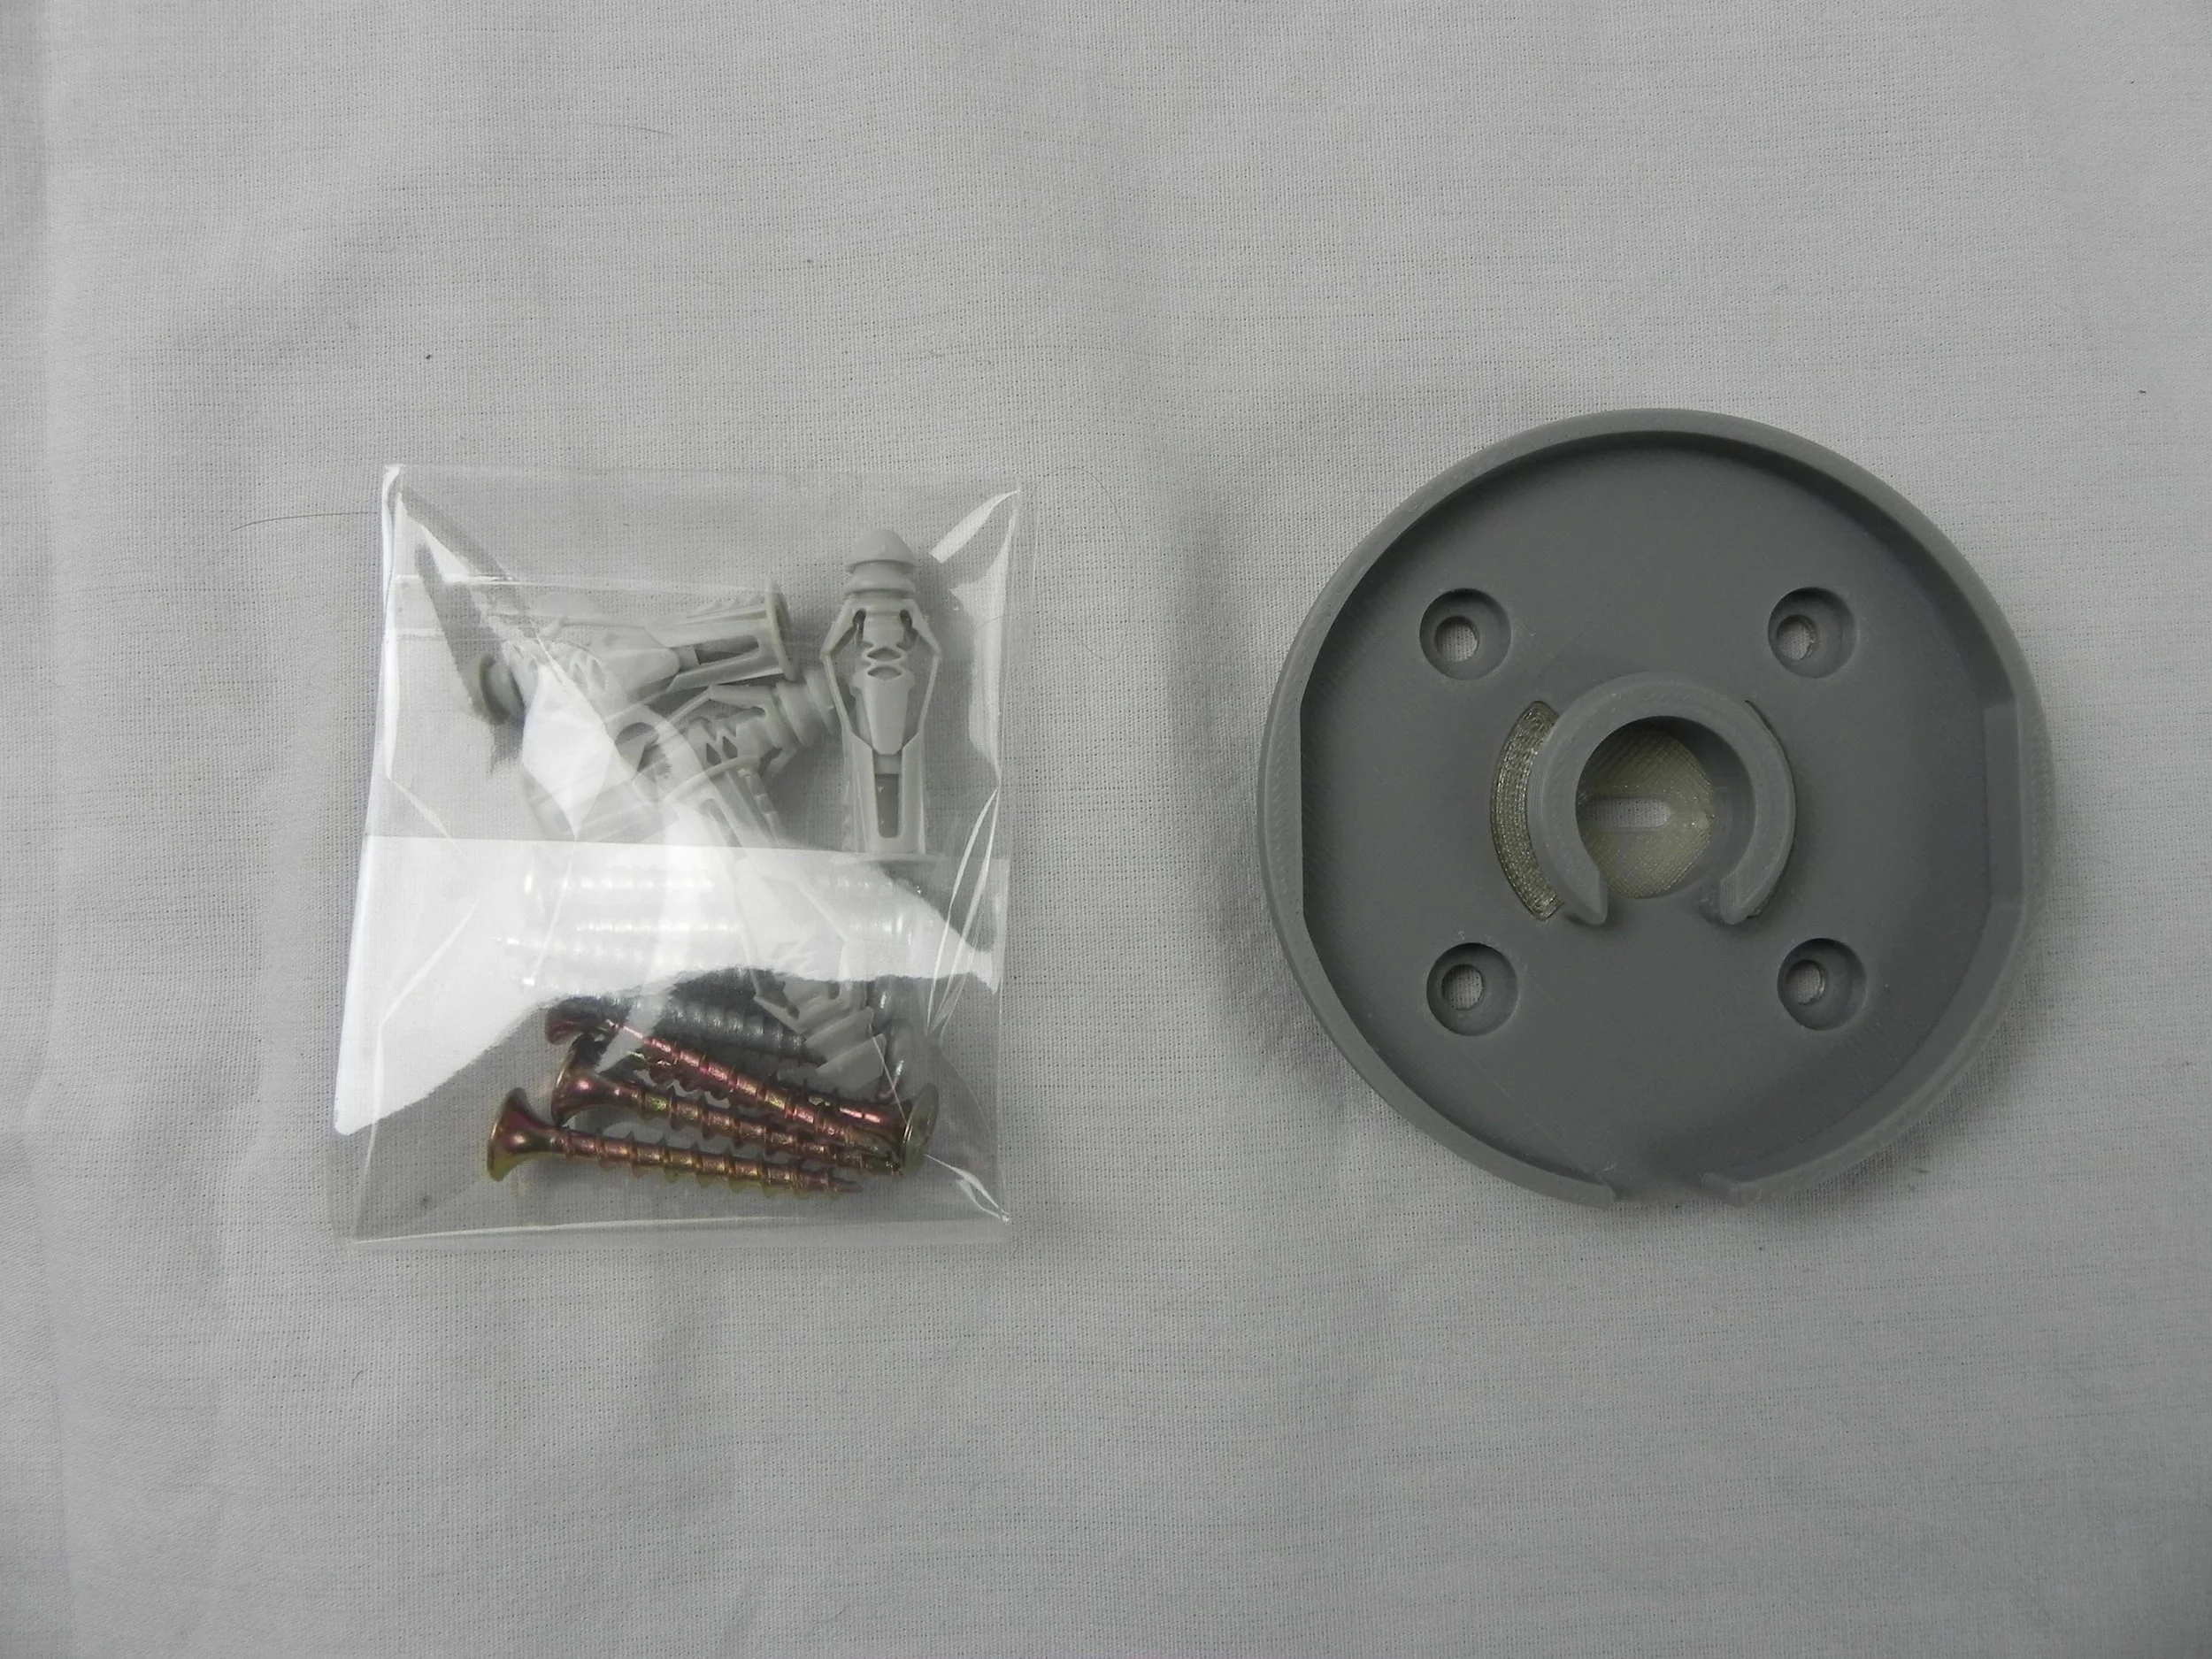
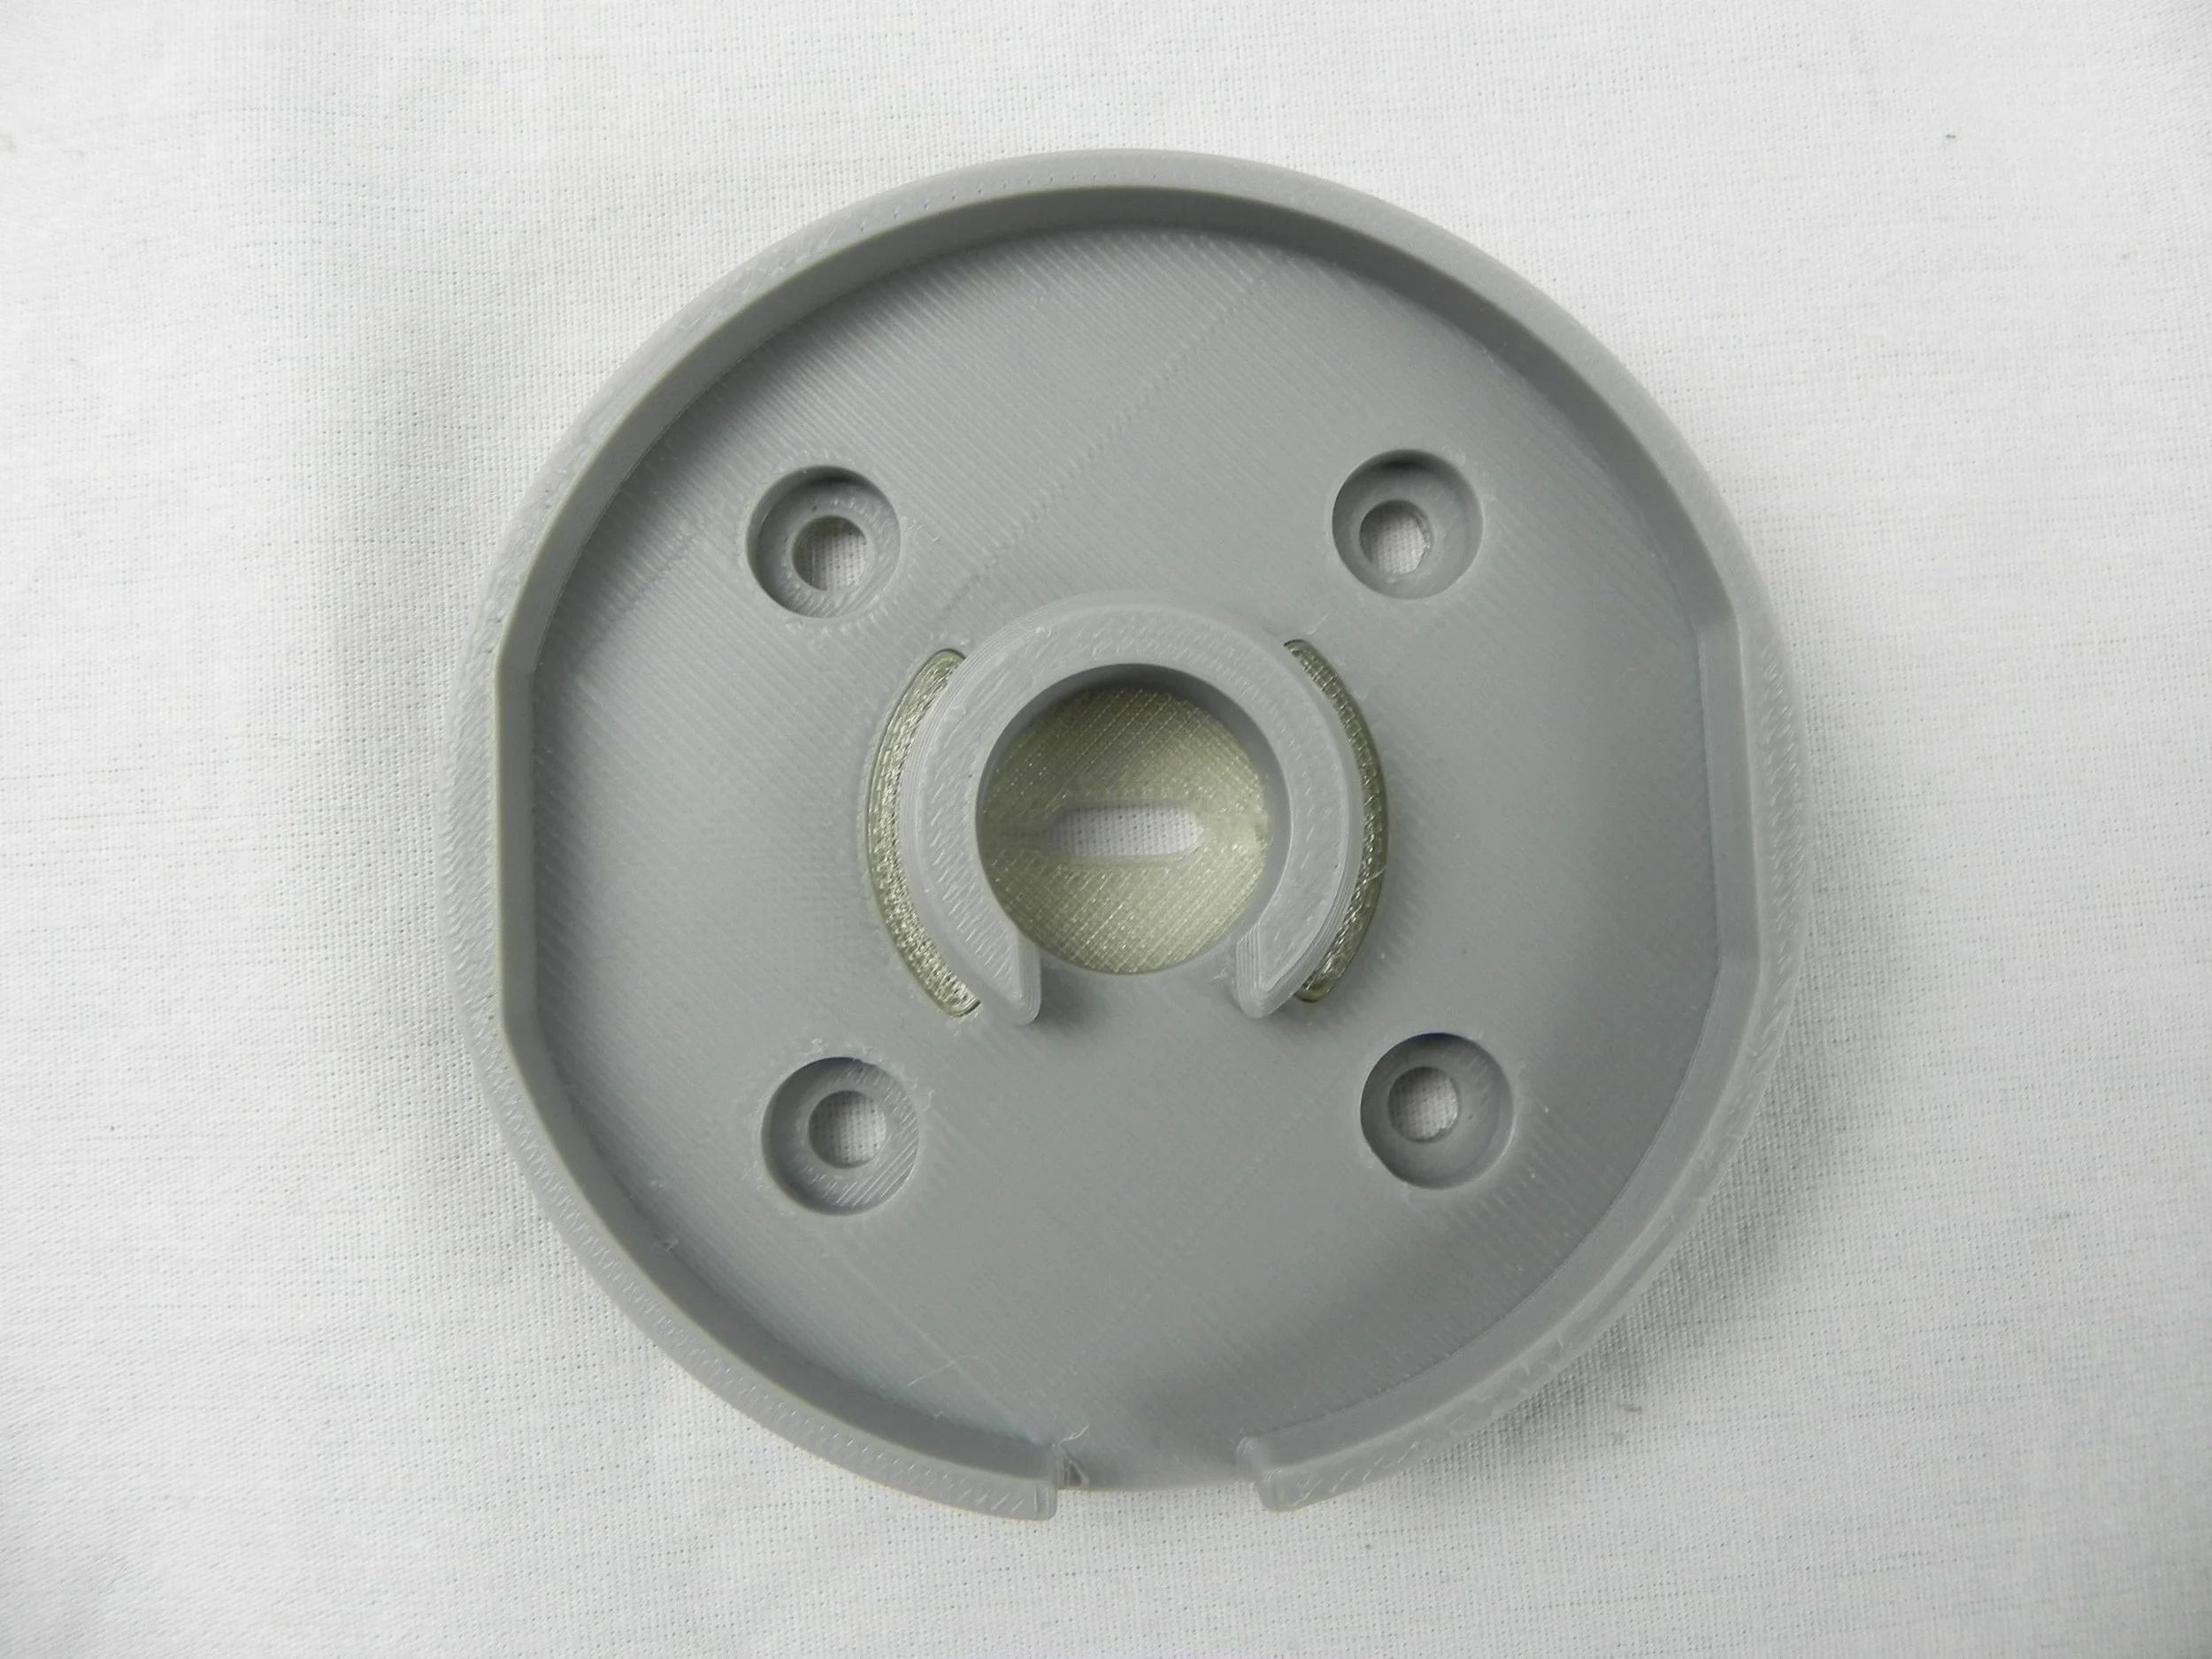
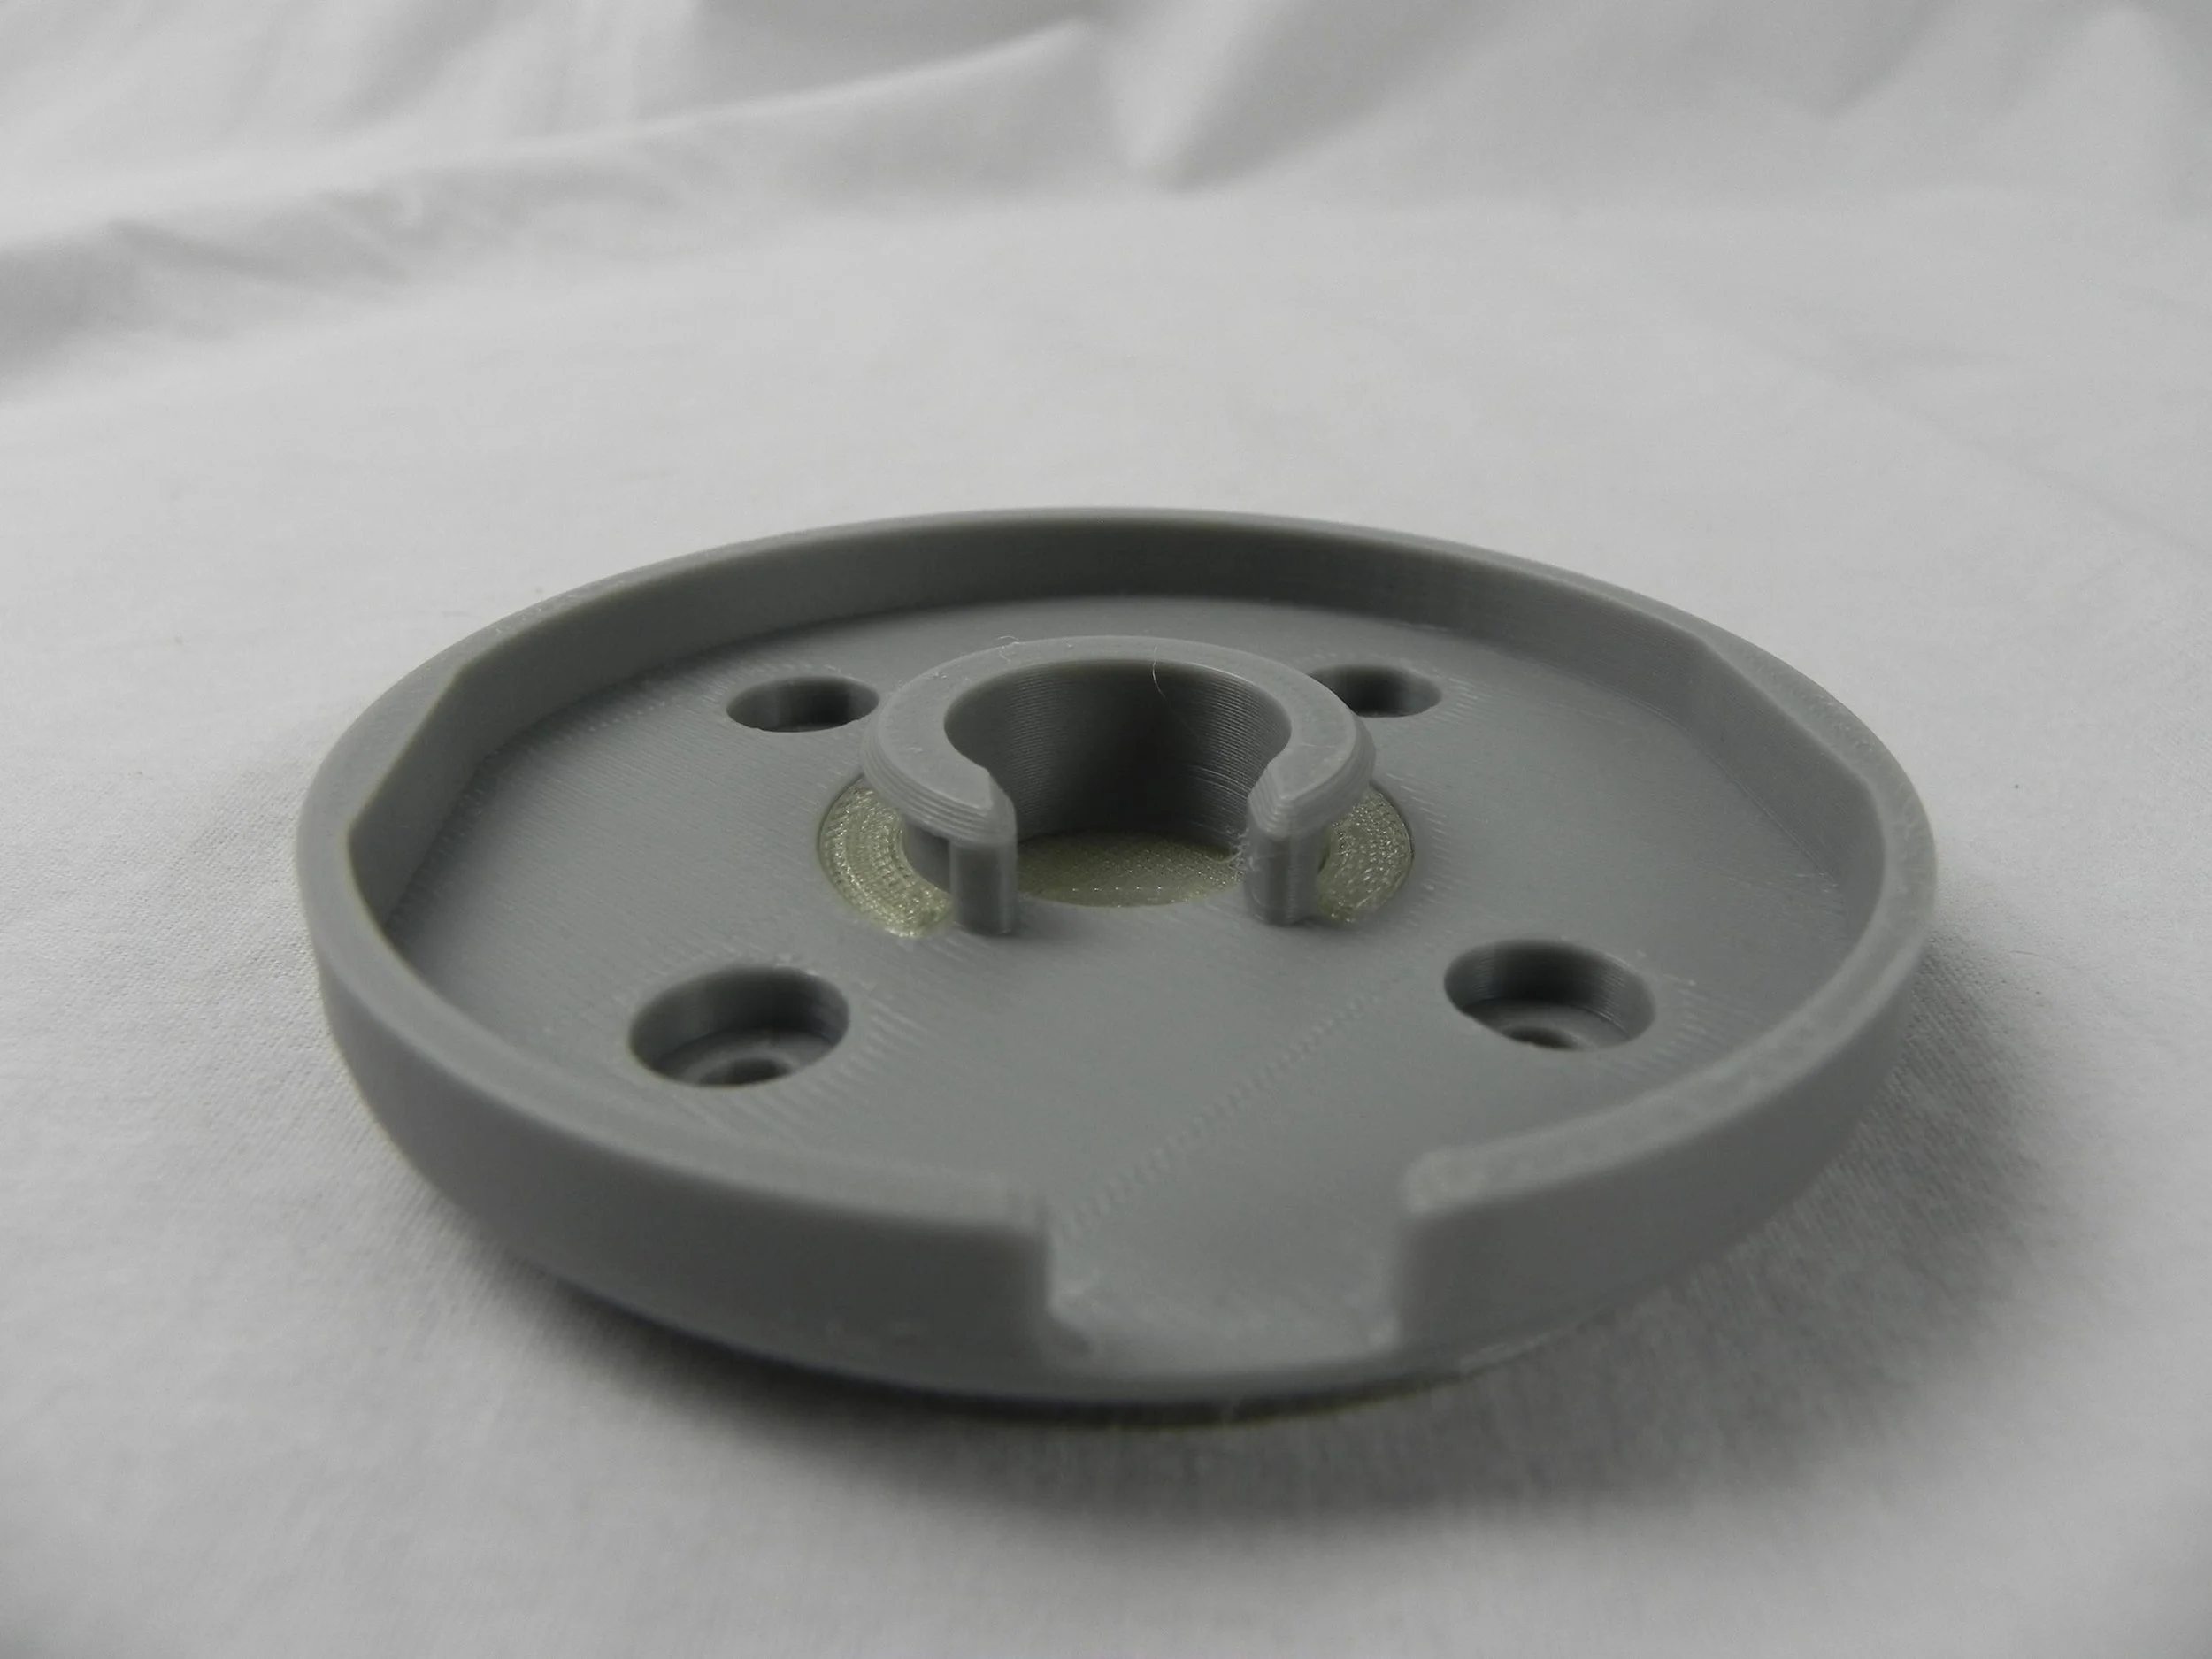
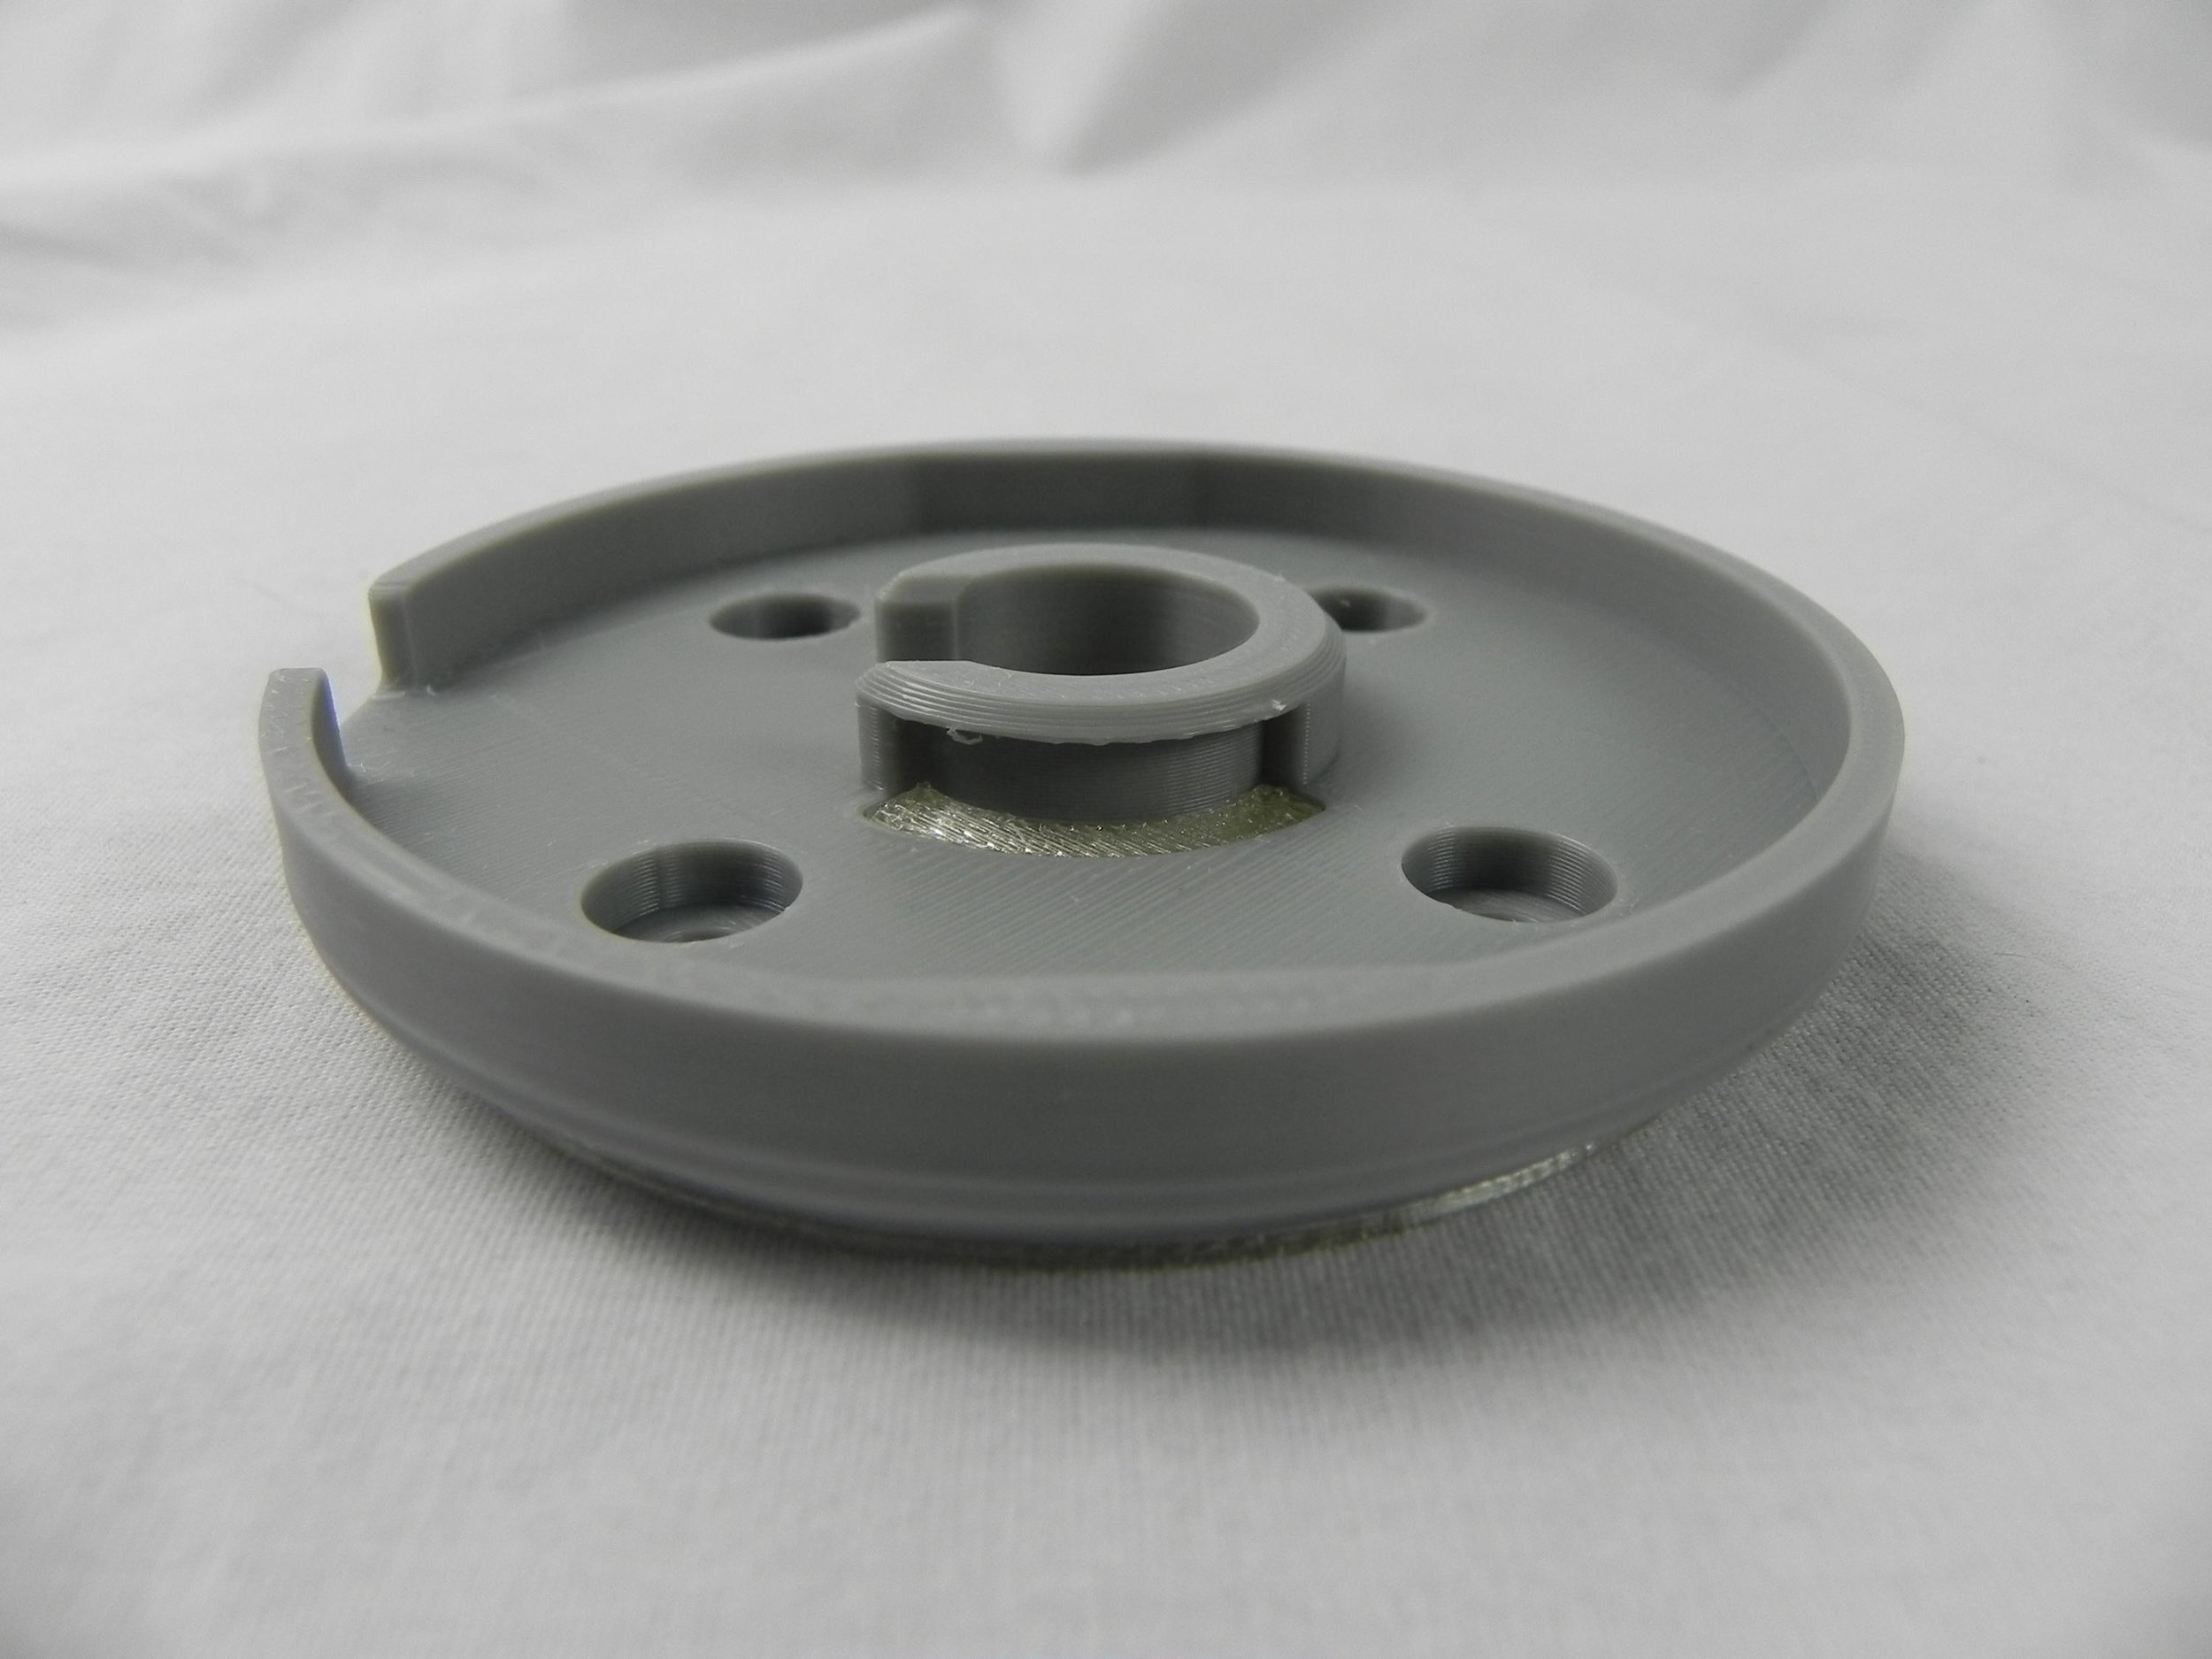
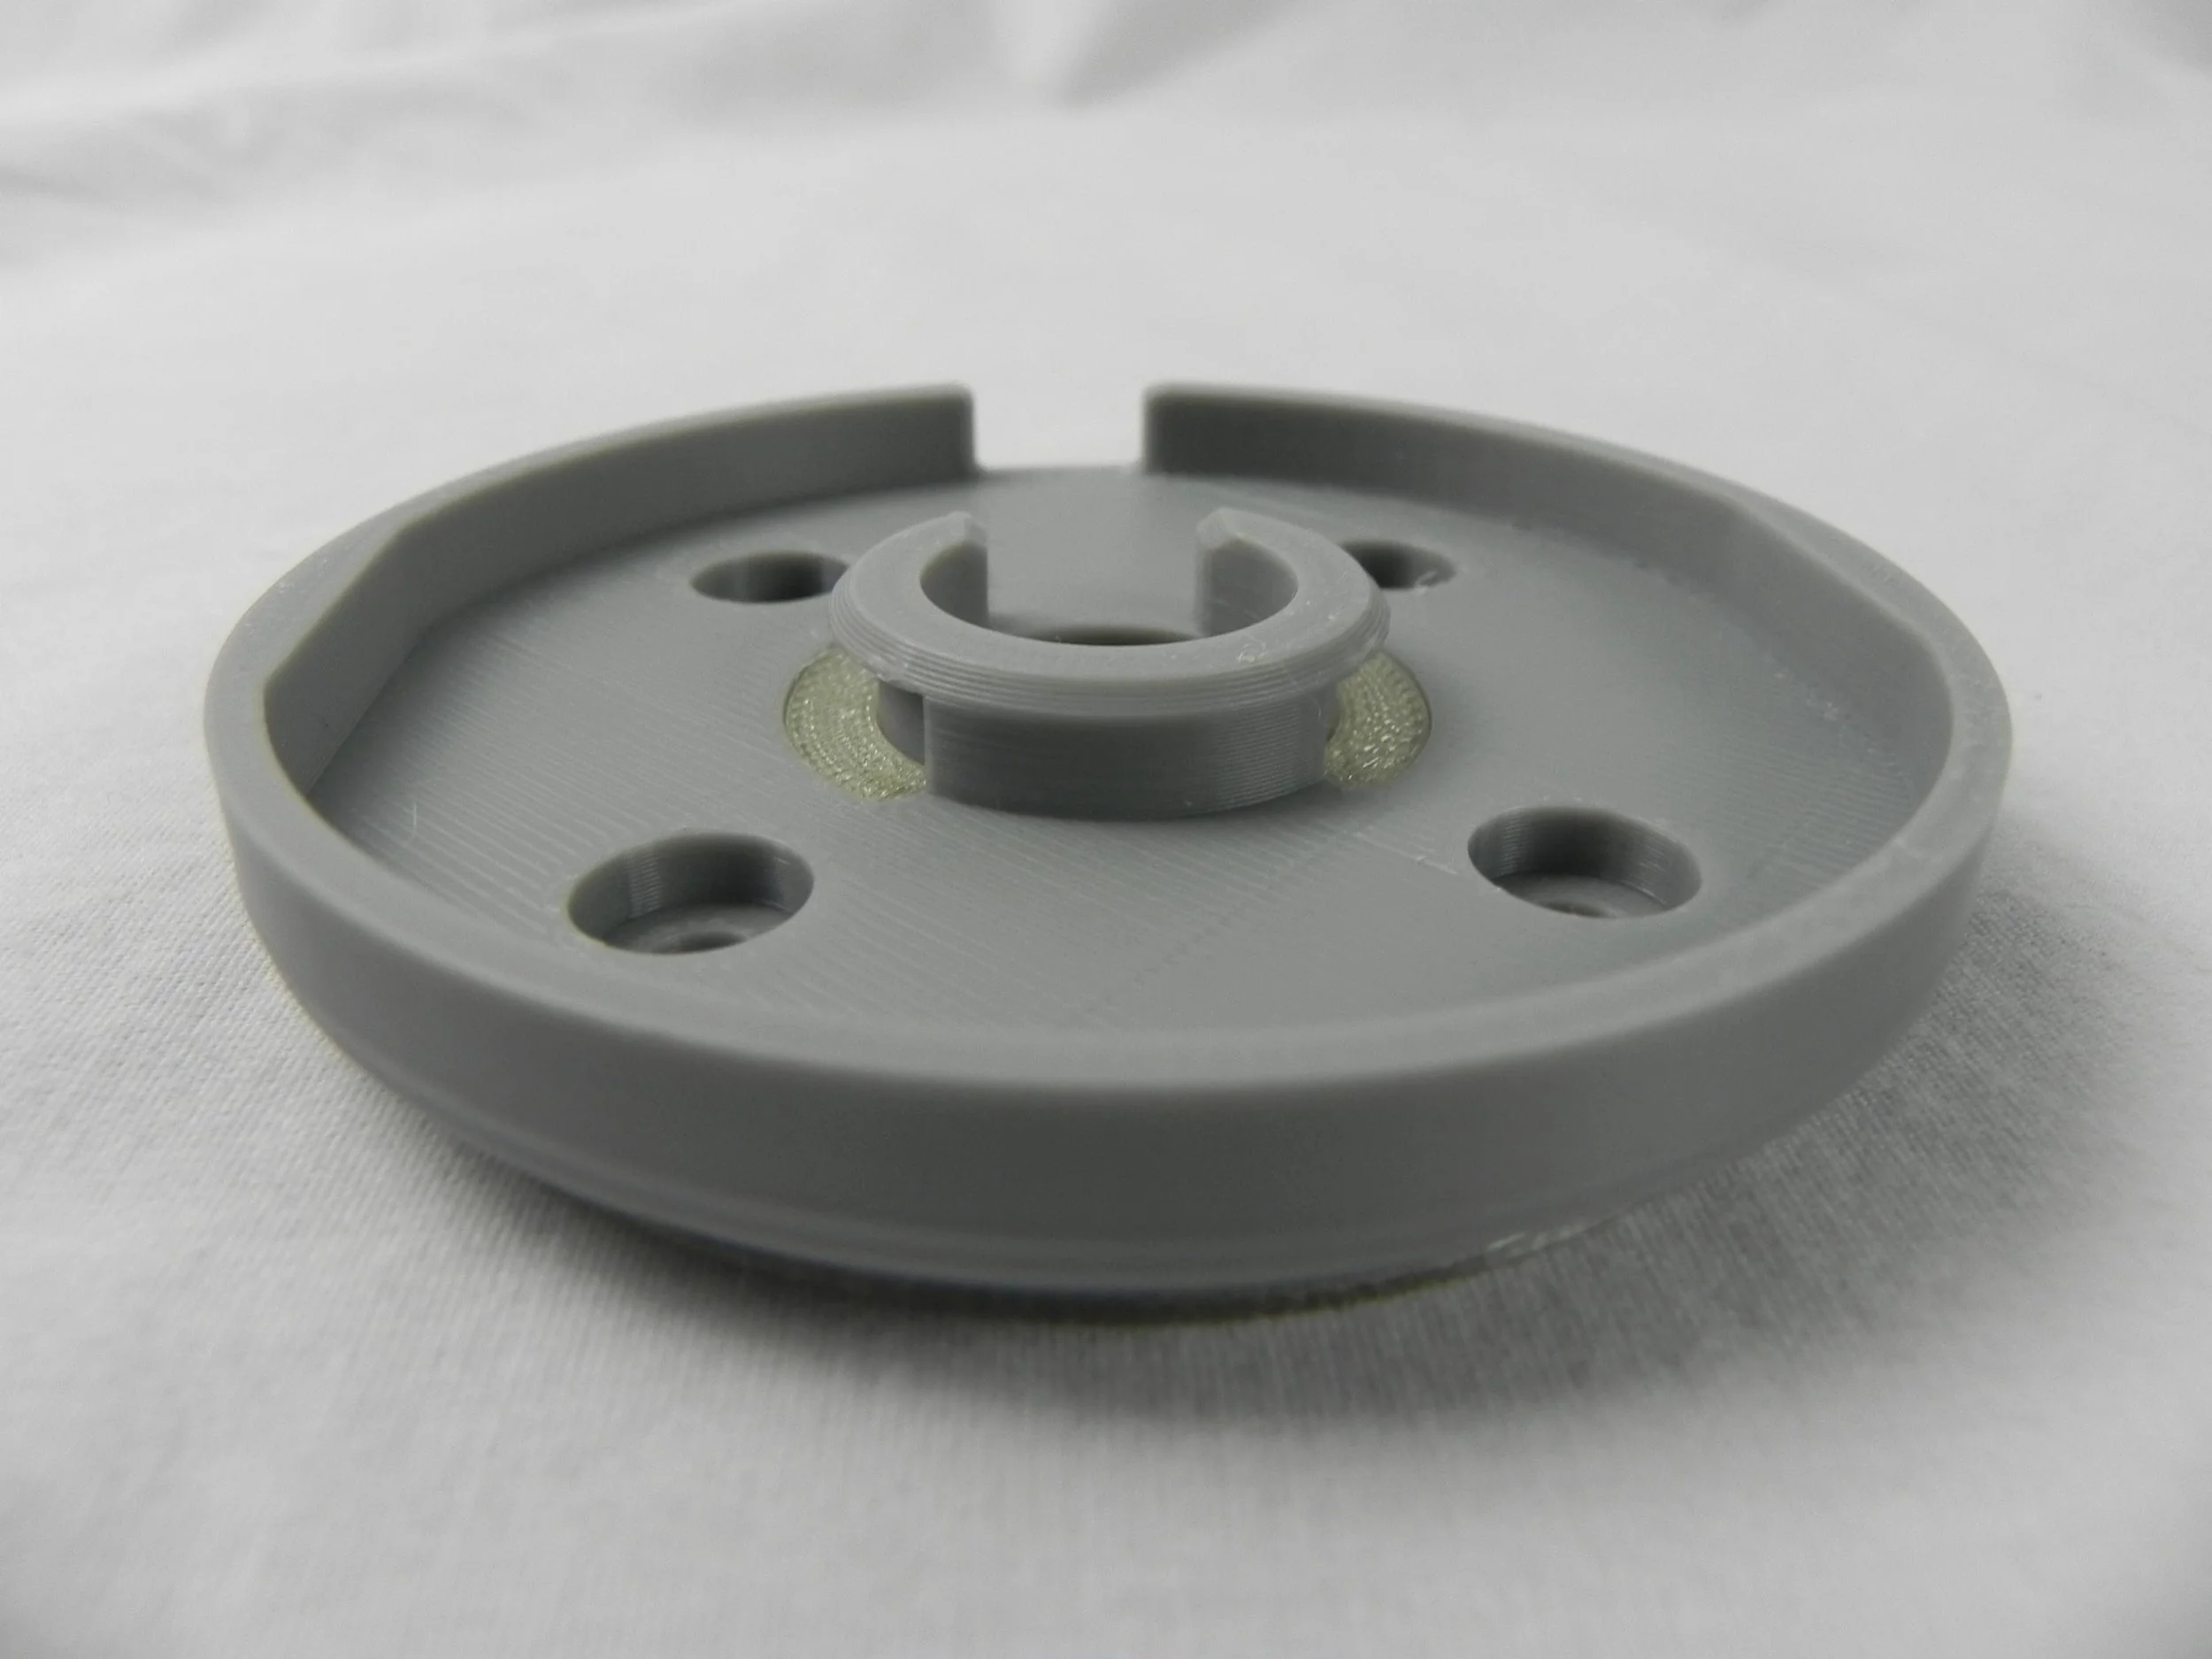
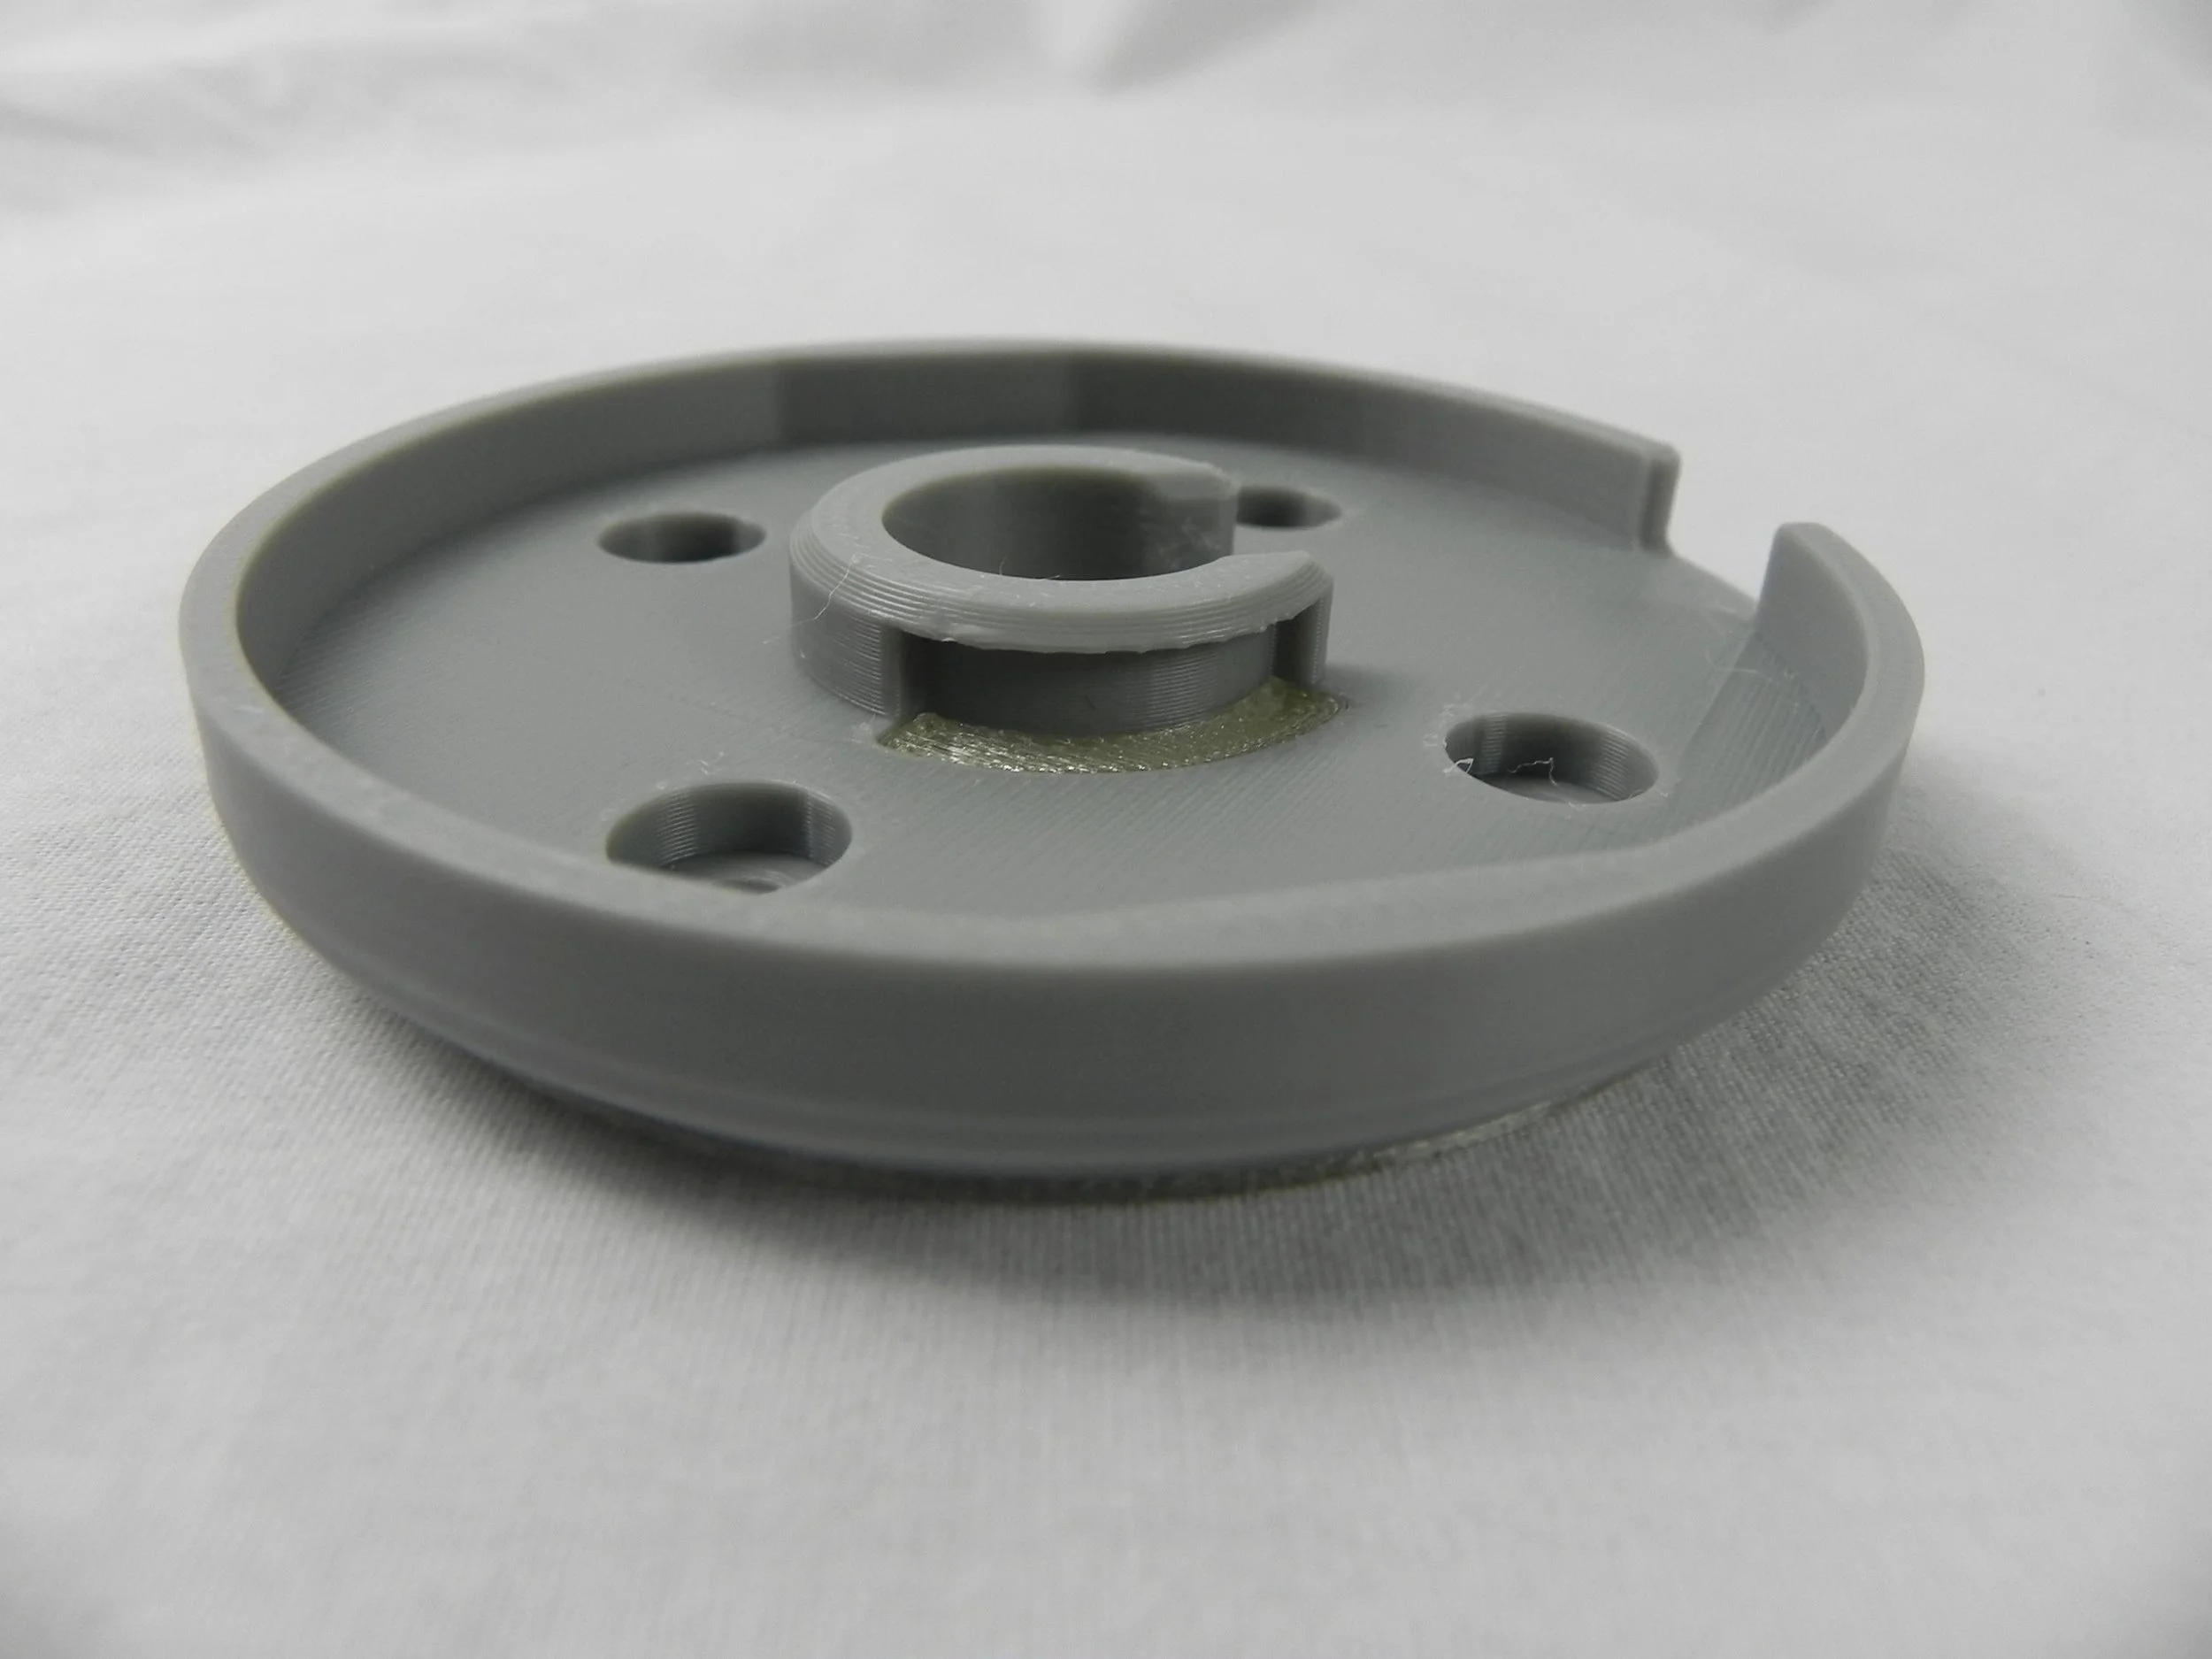
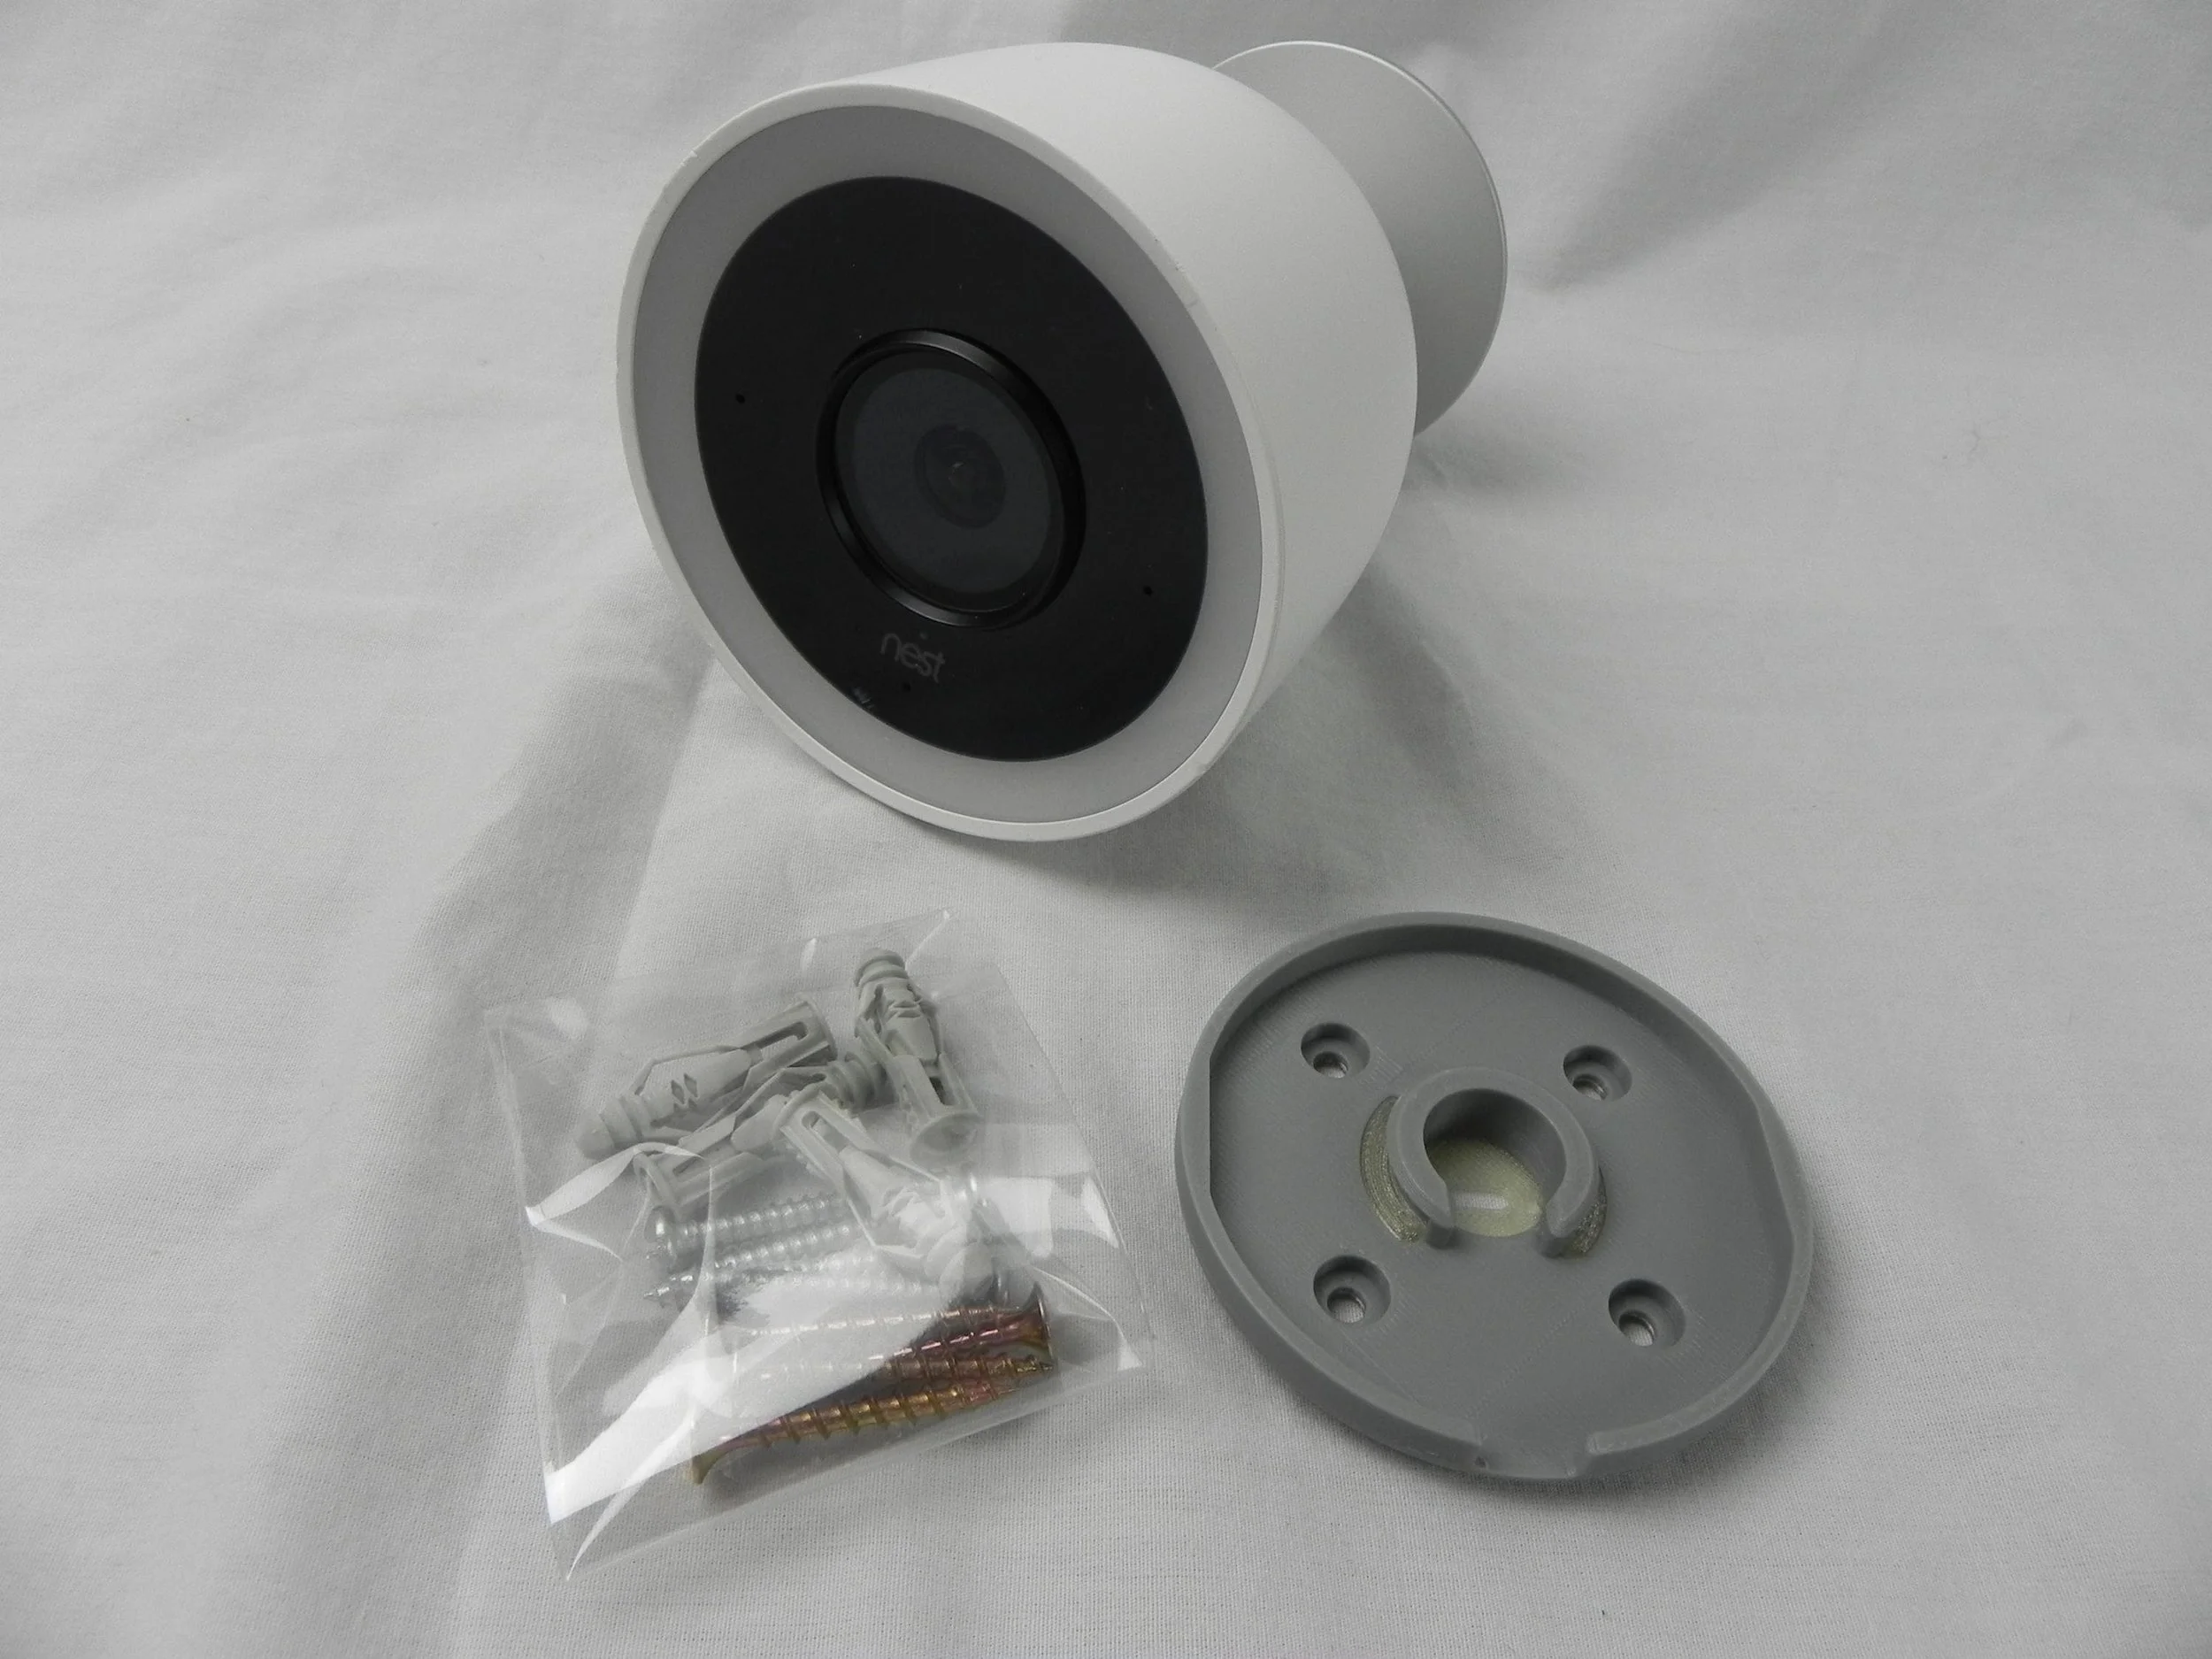
This mounting plate bracket was specifically designed to be compatible with the Google Nest Cam IQ Outdoor Camera that has the model numbers A0055 NC4100US. The brackets were modeled and are printed by myself right here in south east Idaho.

Listing includes:

One wall mounting bracket
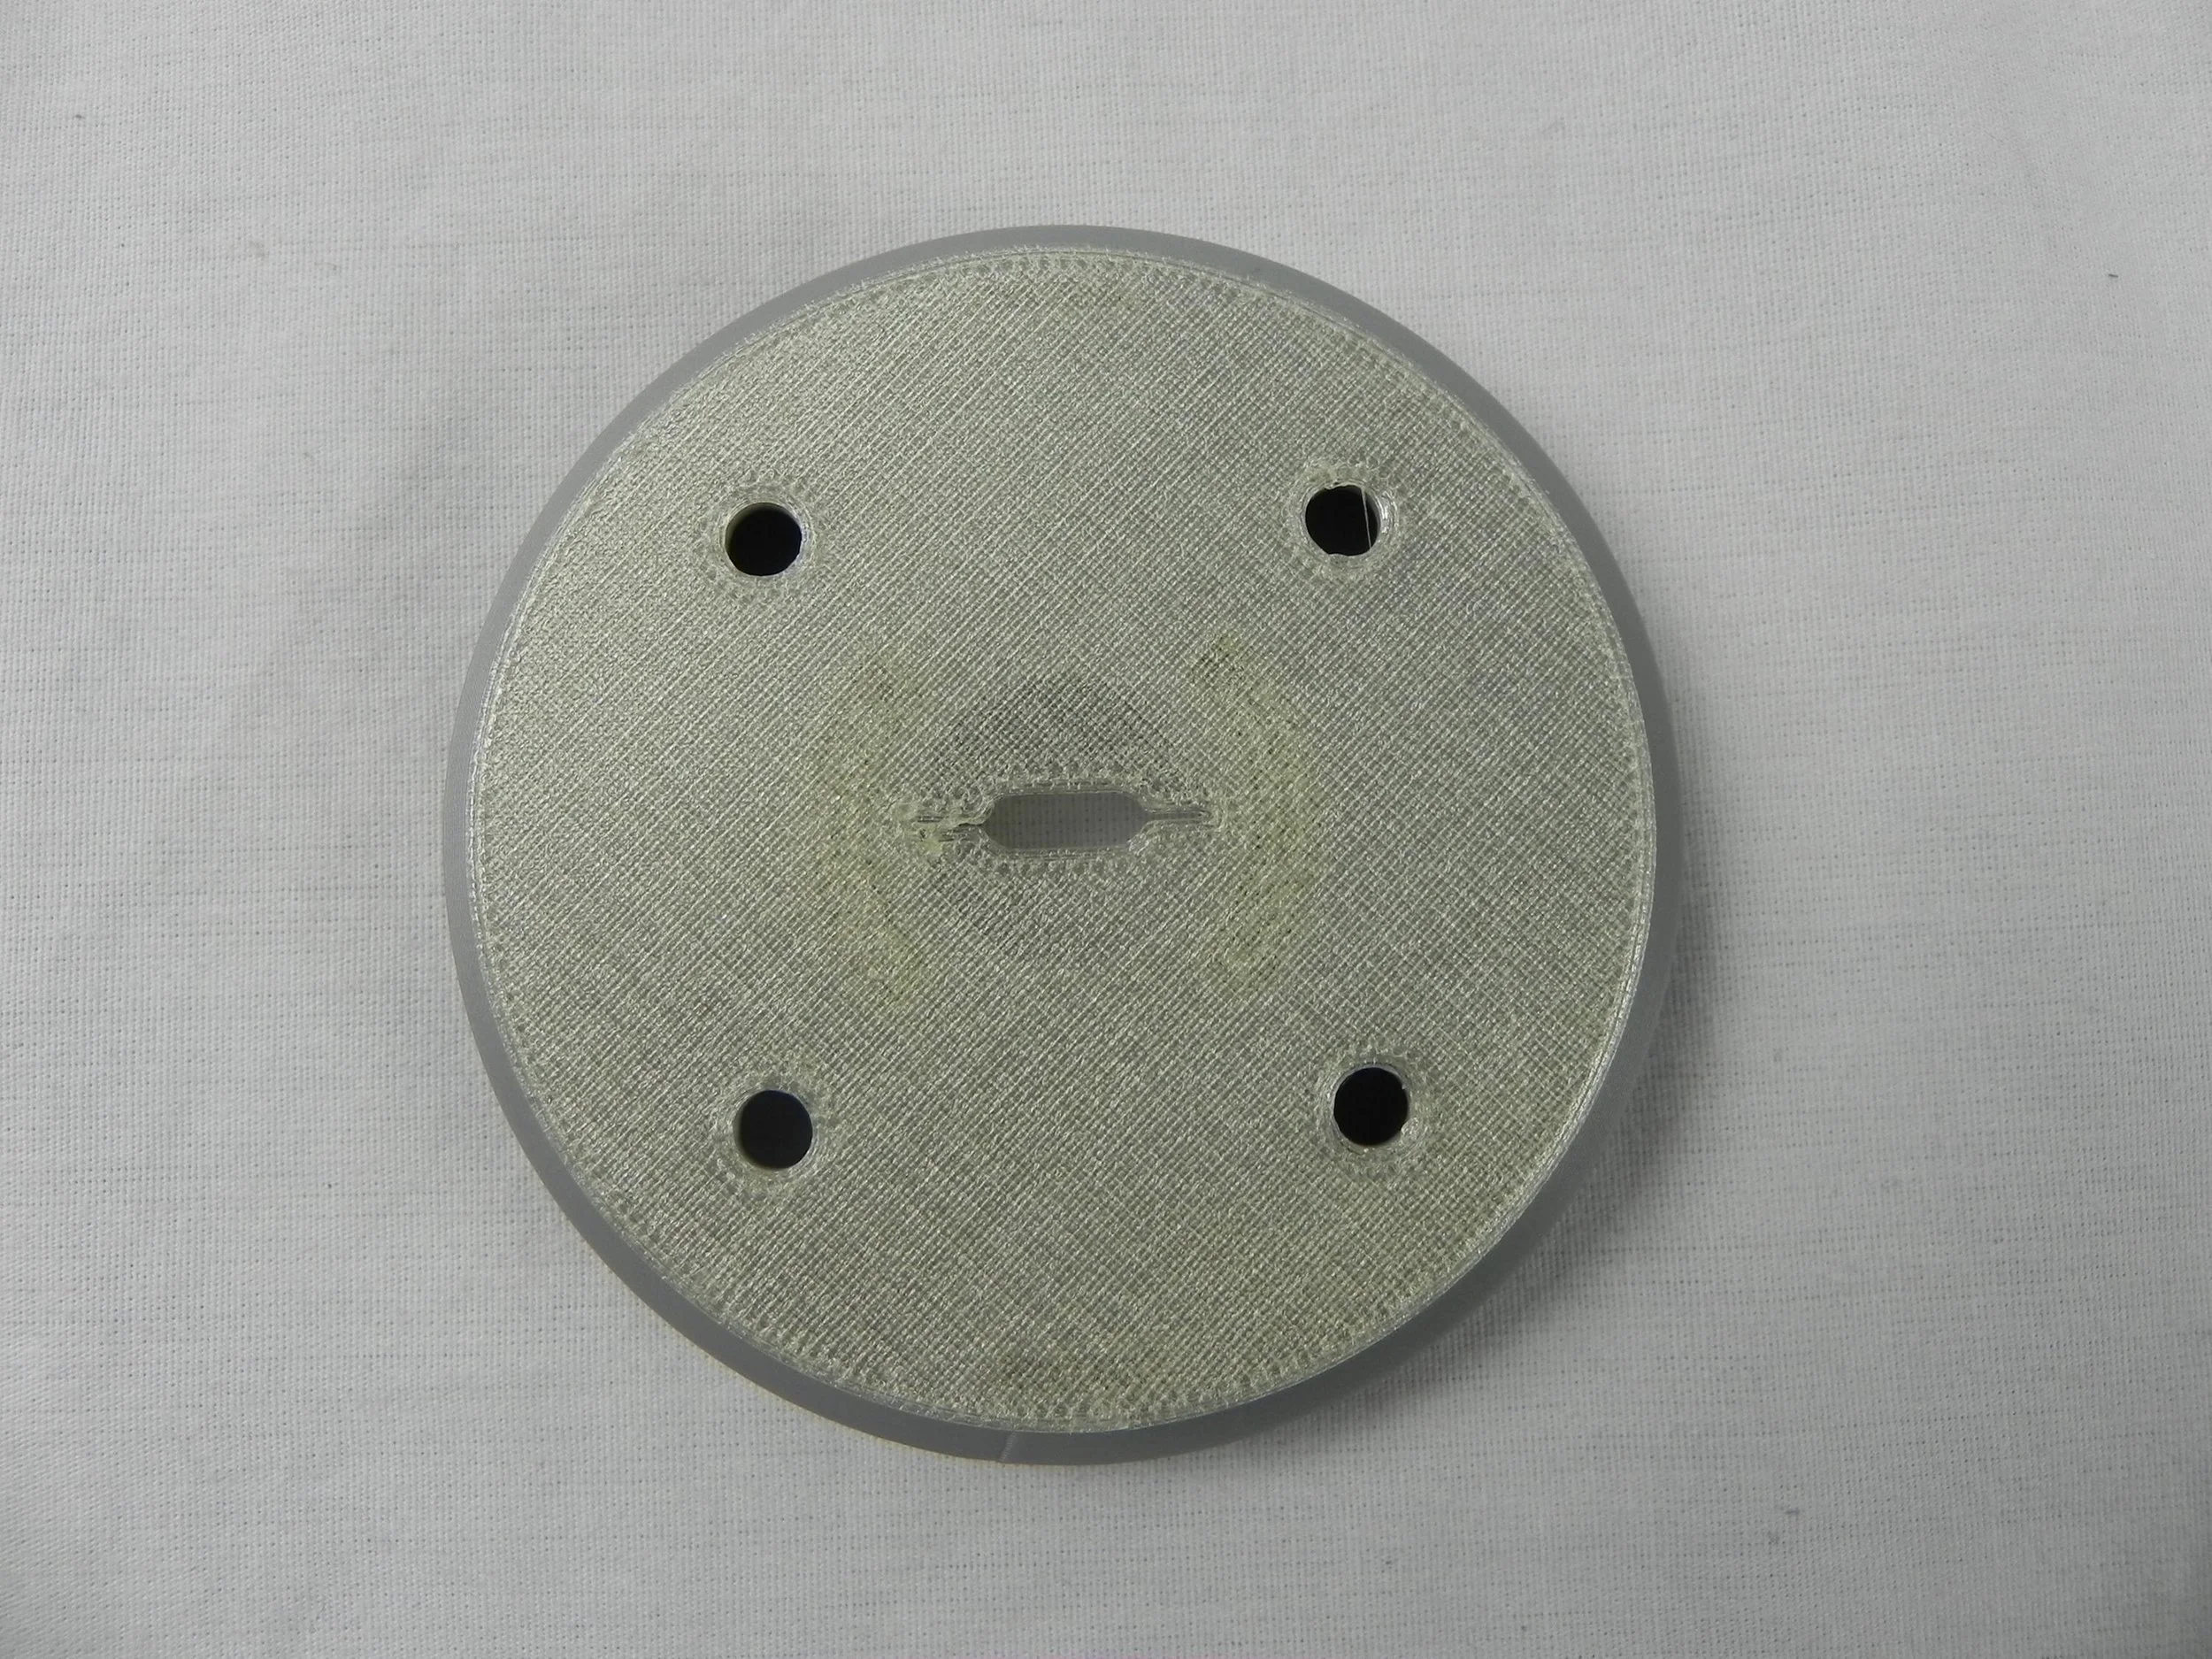
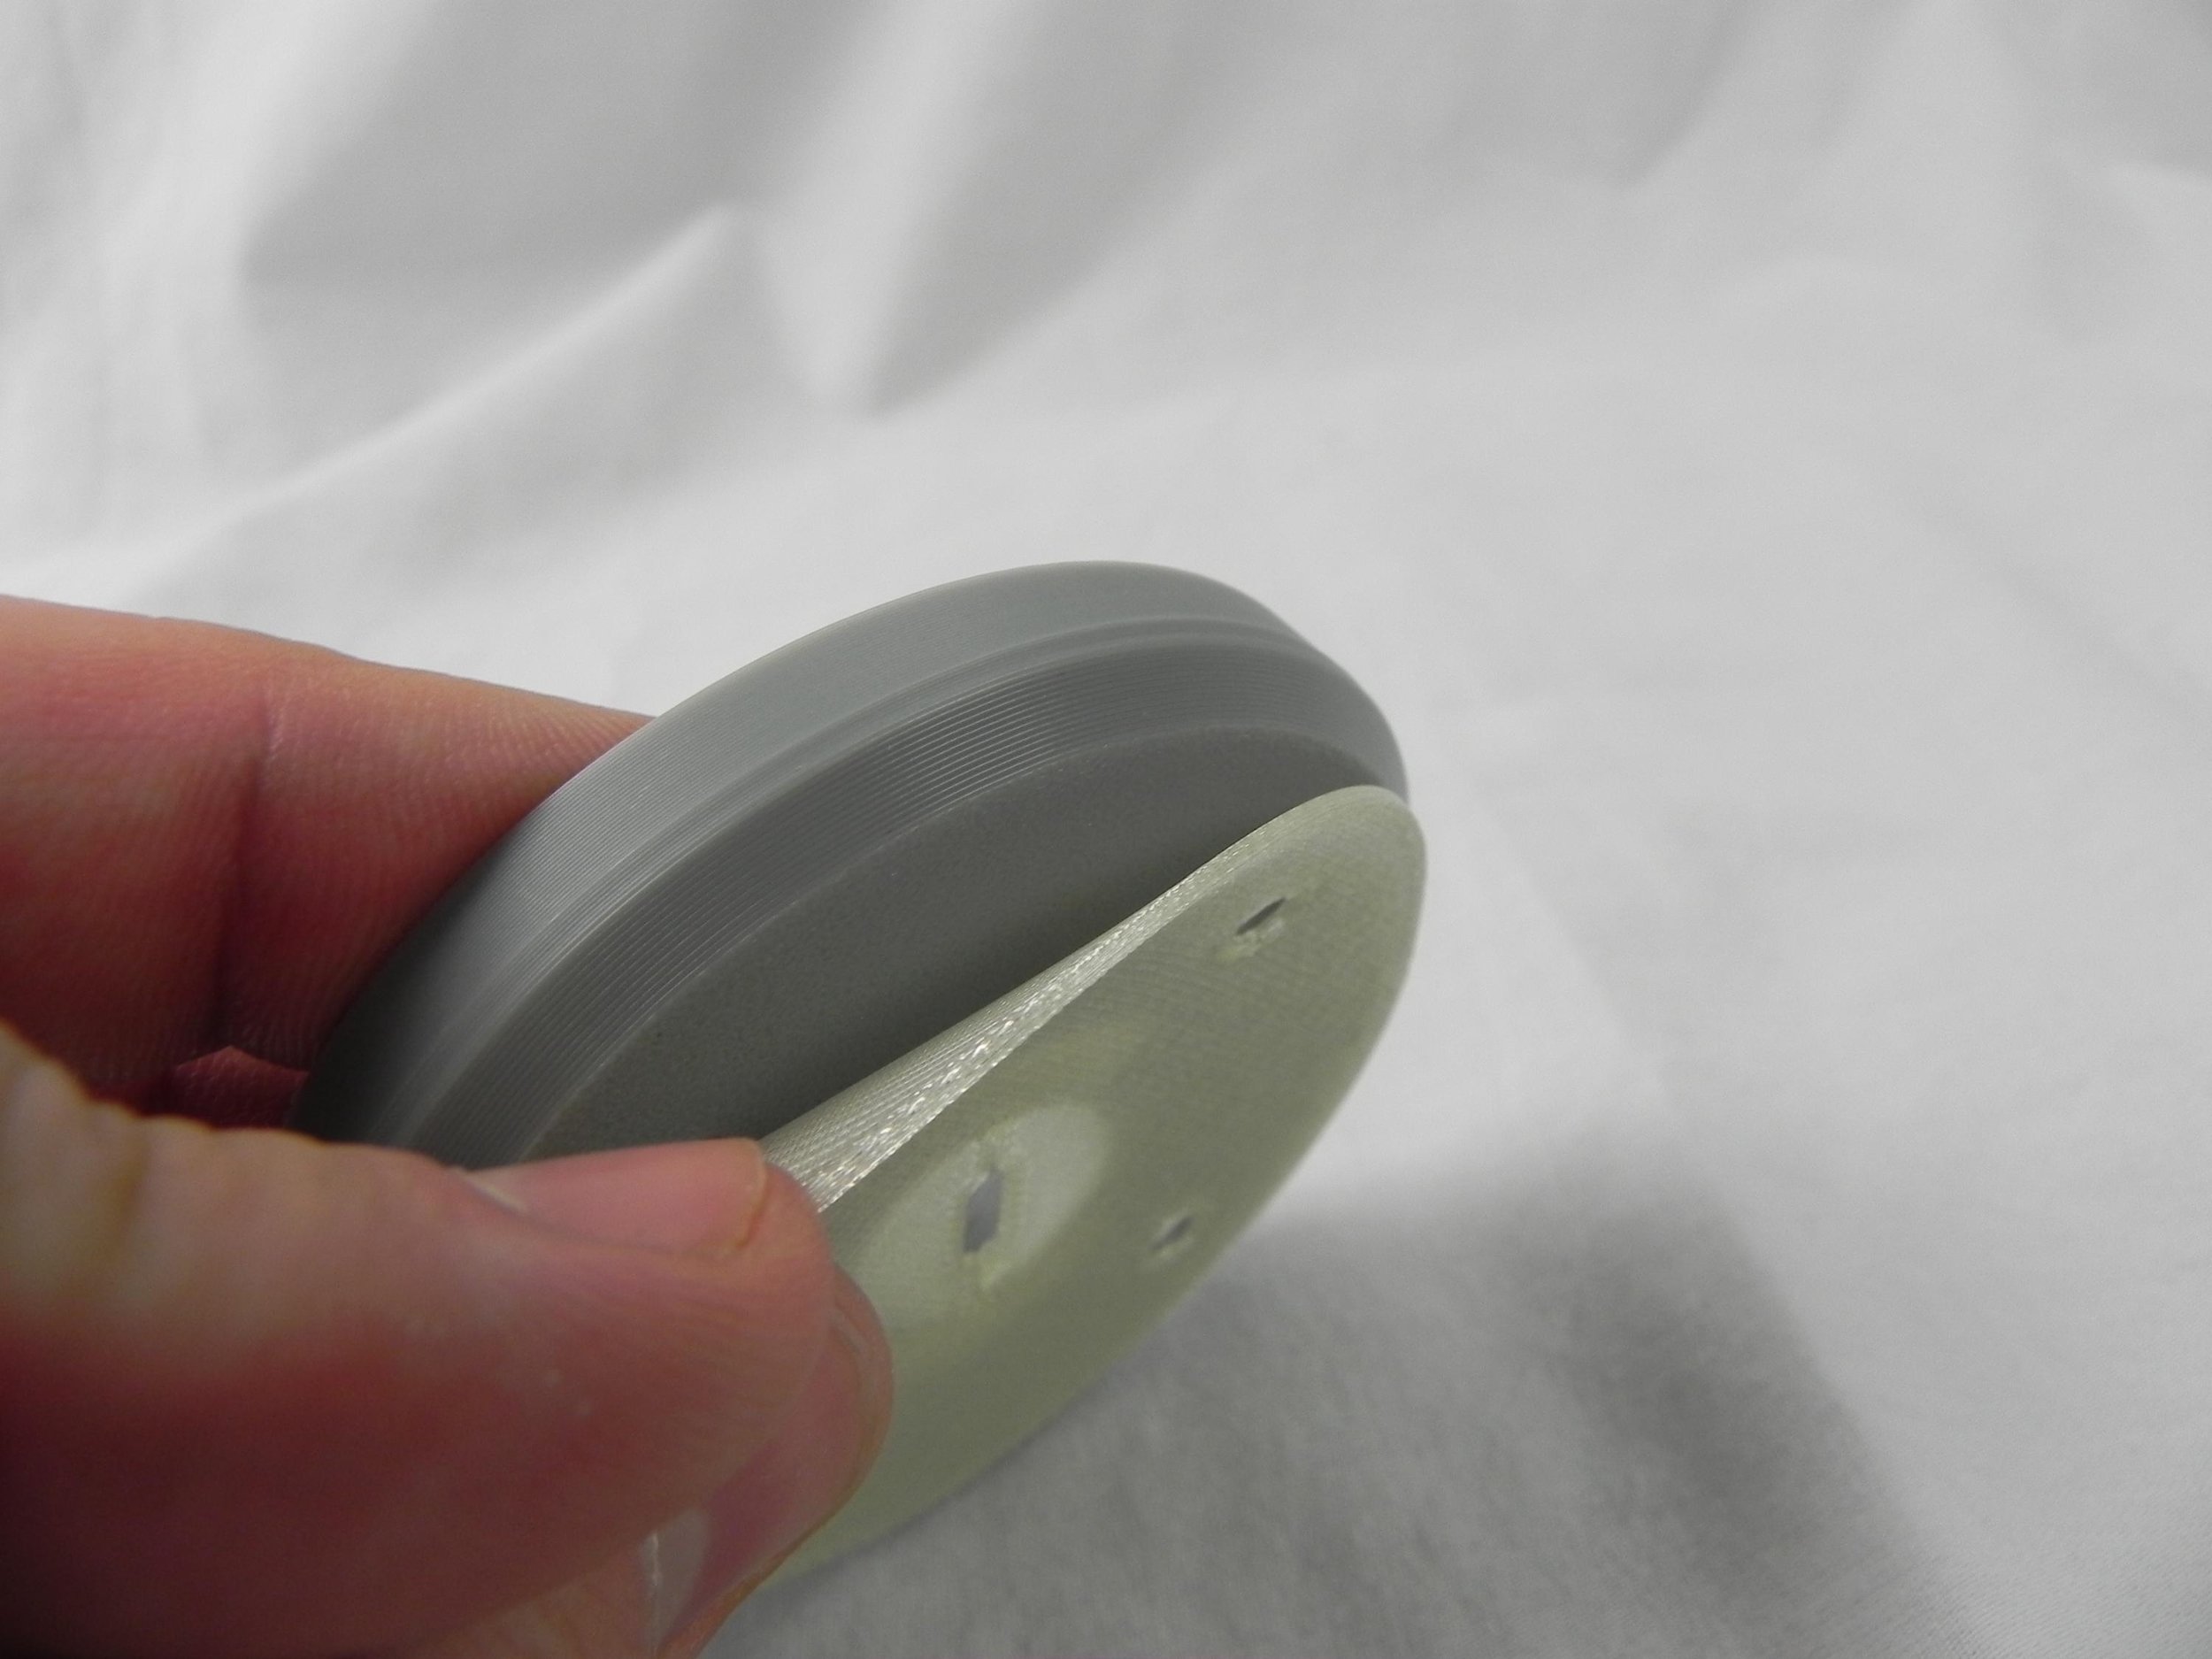
Rubberized gasket
Hardware kit (4 universal anchors and 4 wood screws)

Camera in the photos is for display and demonstration purposes only and is not included

Instructions:

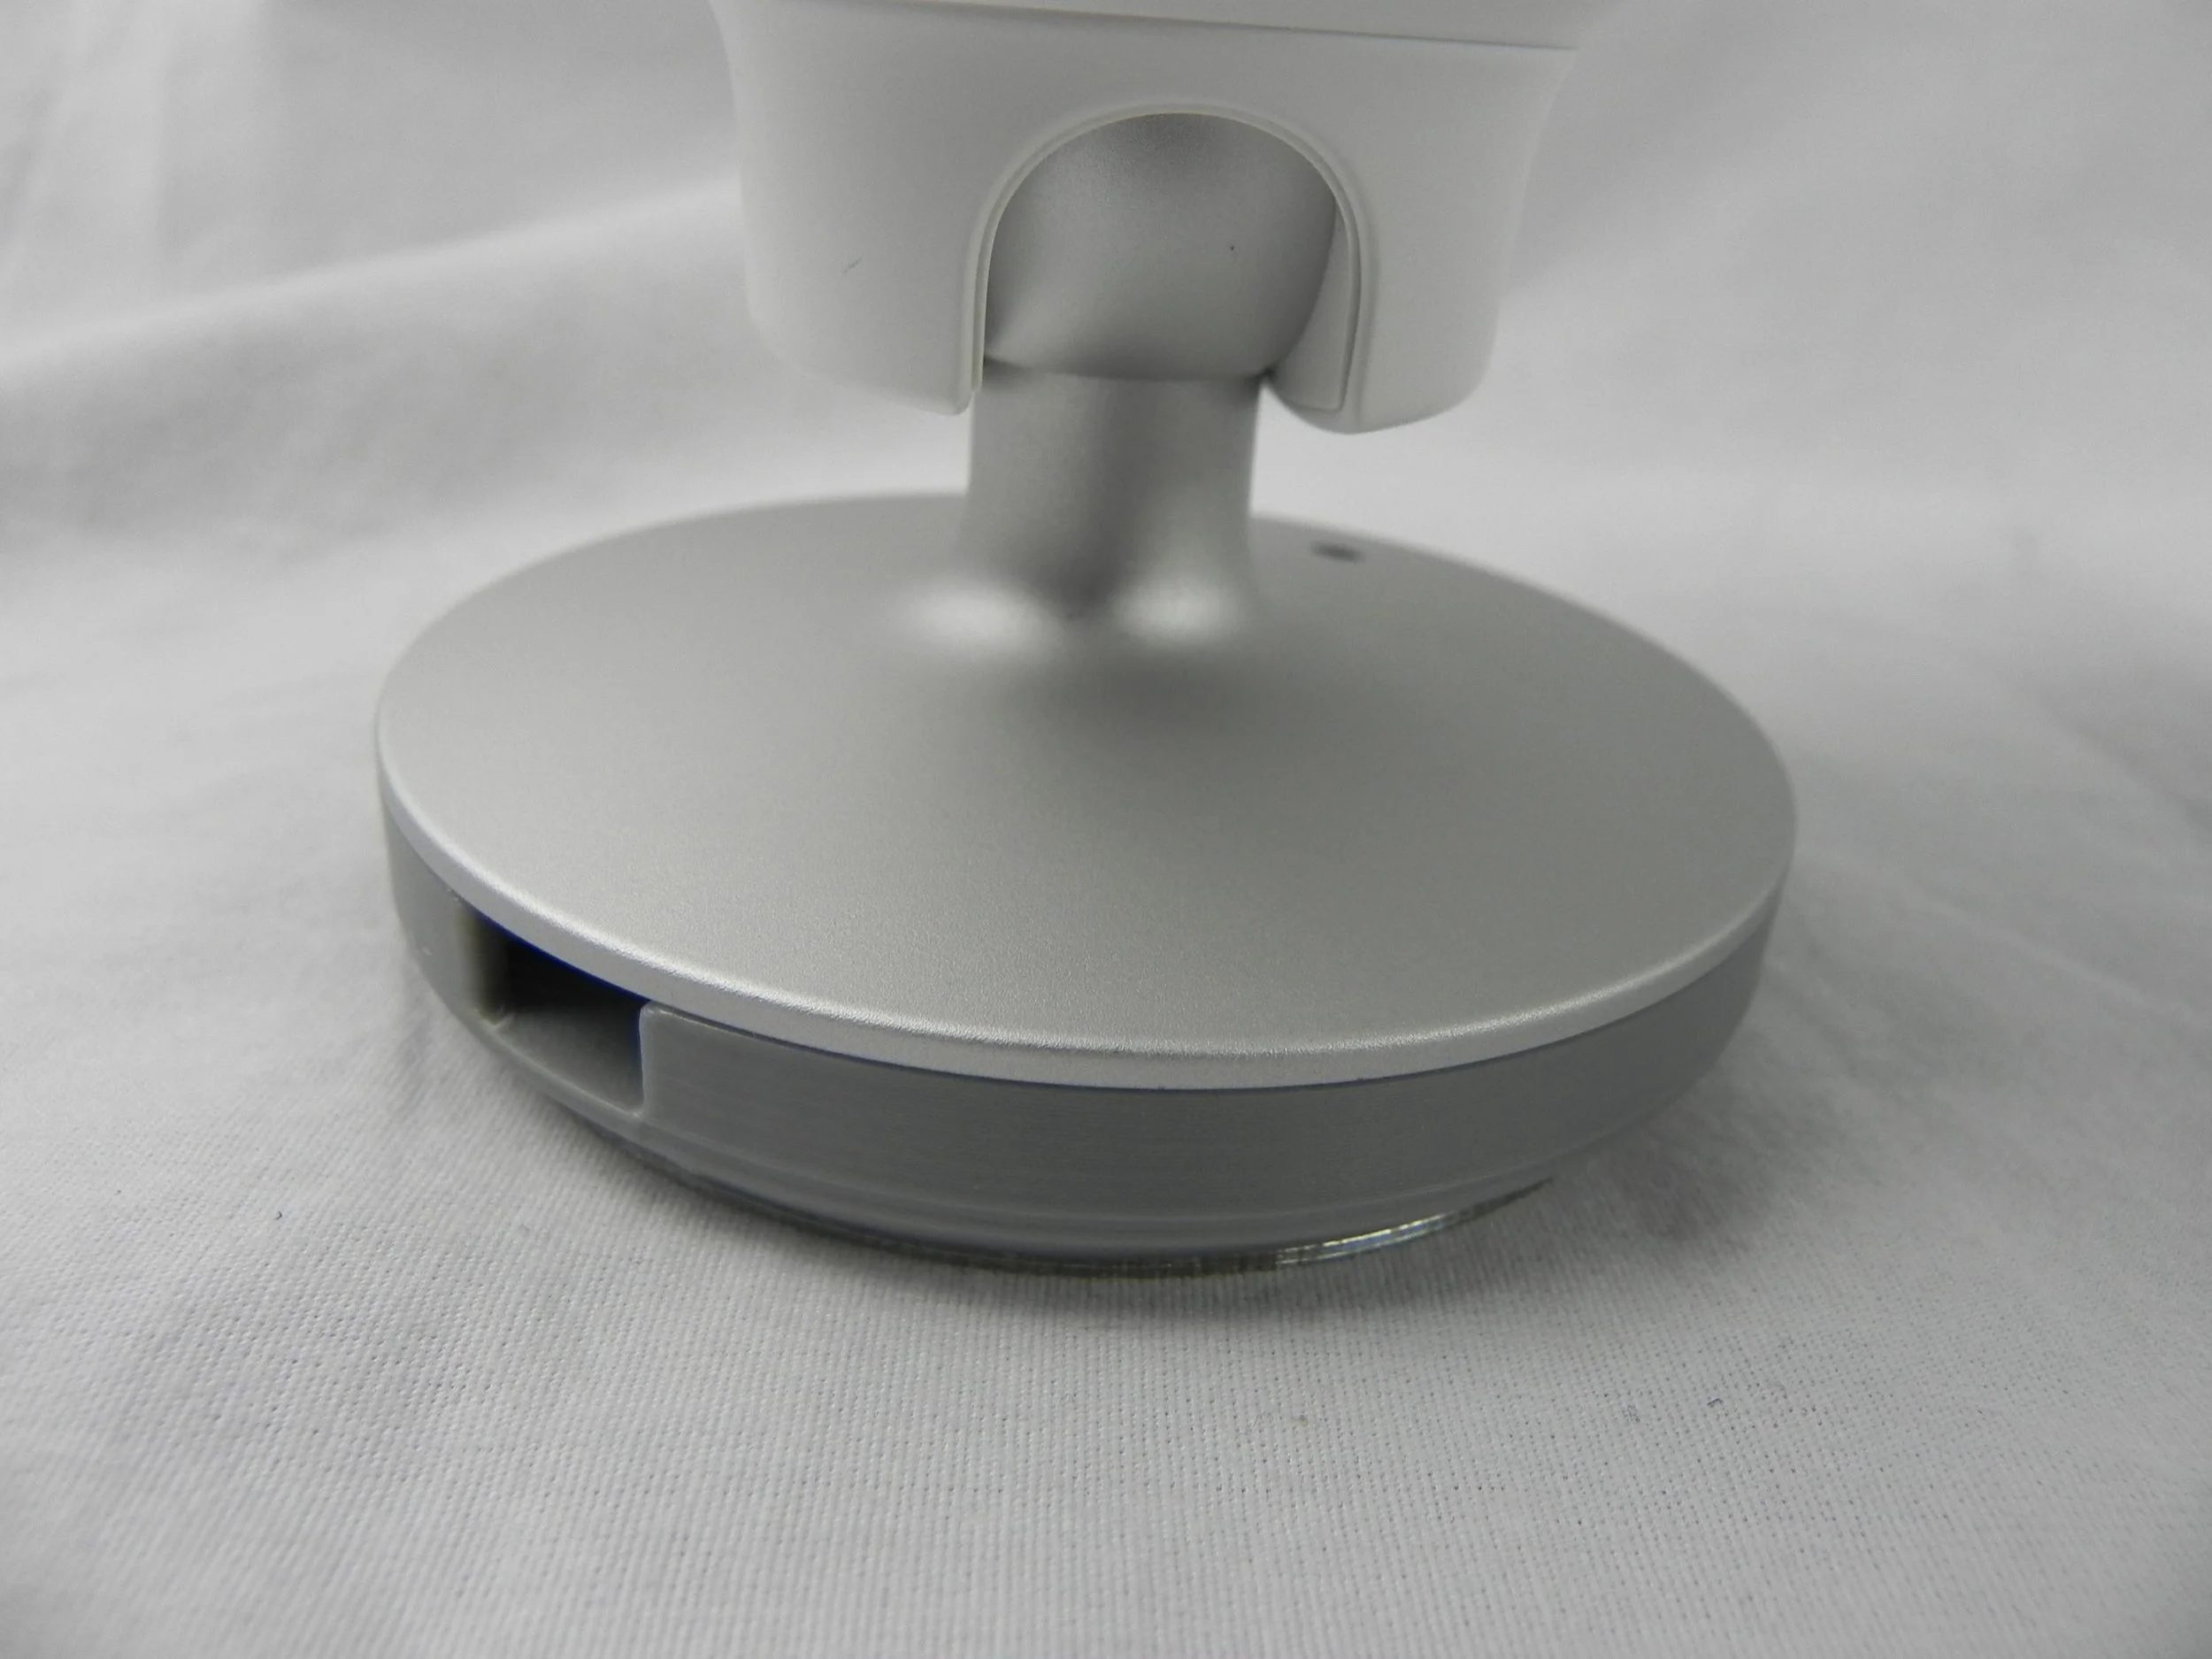
- If you intend to pass your usb cable through the back of the rubberized gasket this needs to be done before the mount is screwed to the wall
- Use the included hardware kit to screw the mounting plate to the wall with the notch facing the way that you intend to run your cable if it will be routed out of the notch. If your cable is running through the back of the bracket then point the notch down toward the ground.
- Plug your camera in and line it up the notch on the back with the notch on the bracket.
- Slide the camera into the bracket and press until you hear a solid click.
- This may take a good amount of force as you are crushing the weather gasket on the camera to create a good sill.
- Give the camera a good tug to ensure that the jaws on the camera are fully engaged and the camera is not going to fall off.
- If you would like to remove the camera, there is a small port on the base of the camera that will accept an Allen key. Turning this port will disengage the jaws on the camera and allow it to be easily removed.
This mounting plate bracket was specifically designed to be compatible with the Google Nest Cam IQ Outdoor Camera that has the model numbers A0055 NC4100US. The brackets were modeled and are printed by myself right here in south east Idaho.

Listing includes:

One wall mounting bracket
Rubberized gasket
Hardware kit (4 universal anchors and 4 wood screws)

Camera in the photos is for display and demonstration purposes only and is not included

Instructions:

- If you intend to pass your usb cable through the back of the rubberized gasket this needs to be done before the mount is screwed to the wall
- Use the included hardware kit to screw the mounting plate to the wall with the notch facing the way that you intend to run your cable if it will be routed out of the notch. If your cable is running through the back of the bracket then point the notch down toward the ground.
- Plug your camera in and line it up the notch on the back with the notch on the bracket.
- Slide the camera into the bracket and press until you hear a solid click.
- This may take a good amount of force as you are crushing the weather gasket on the camera to create a good sill.
- Give the camera a good tug to ensure that the jaws on the camera are fully engaged and the camera is not going to fall off.
- If you would like to remove the camera, there is a small port on the base of the camera that will accept an Allen key. Turning this port will disengage the jaws on the camera and allow it to be easily removed.